The Frustrating Reality of Pixelated AI Masterpieces
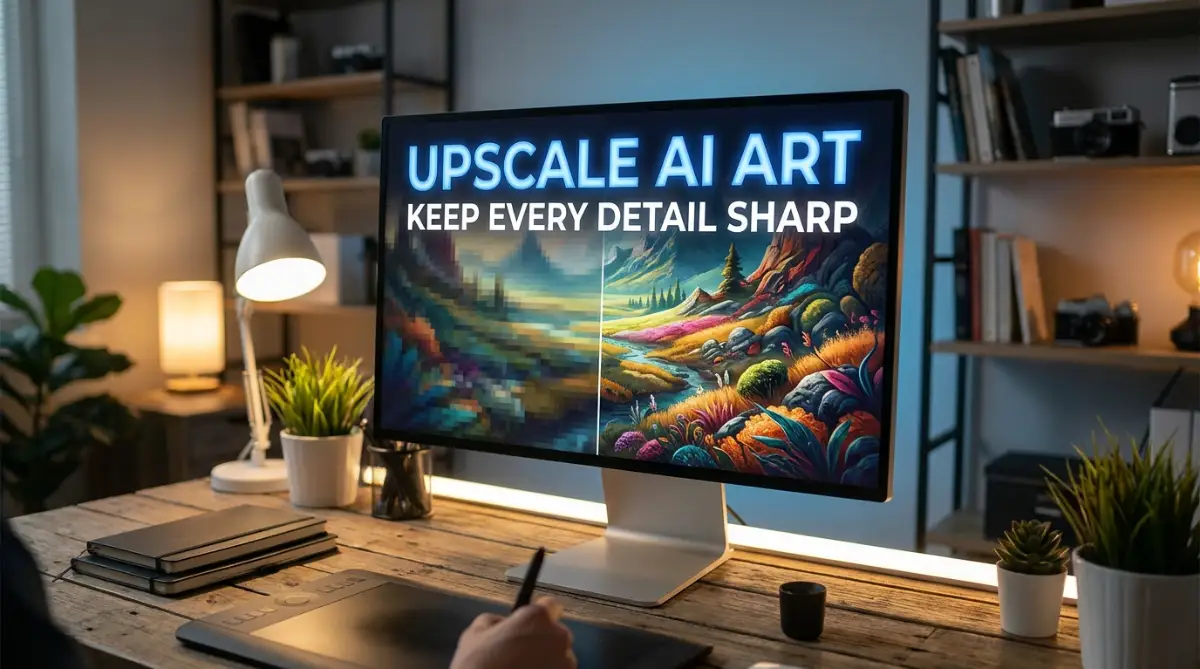
You finally nail the perfect prompt, hit generate, and boom—an absolute stunner pops up on your screen. But the second you try to zoom in and actually use it, the picture turns into a muddy, pixelated mess. Trust me, I have been there too. It is incredibly frustrating to see a beautiful concept trapped inside a tiny, unusable file size. Instead of deleting your favorite images, let me show you the exact methods to make your AI art massive and crystal clear, without losing the original vibe.
Every time you try basic stretching tools, the picture just gets worse. It feels like you are constantly fighting against the software just to get a clean, usable result. You just want a simple way to make the picture bigger without destroying the beautiful elements that made you love the image in the first place.
Quick Summary: How to Fix Blurry AI Art
- Clean up the digital noise and blocky pixels first before trying to make the picture bigger.
- Match your upscaling model to your art style (never use a realistic photo model for an anime drawing!).
- Keep your denoising slider between 30% and 40% to stop the software from hallucinating weird background objects.
- Add a tiny bit of transparent film grain at the very end to make the final image look completely natural and authentic.
The Hidden Mechanics of Digital Image Sizing
Before we jump into the exact steps to fix your blurry pictures, we need to talk about why this problem happens. Many people think they can just open a basic photo viewer, type in a larger number for the dimensions, and save the file.
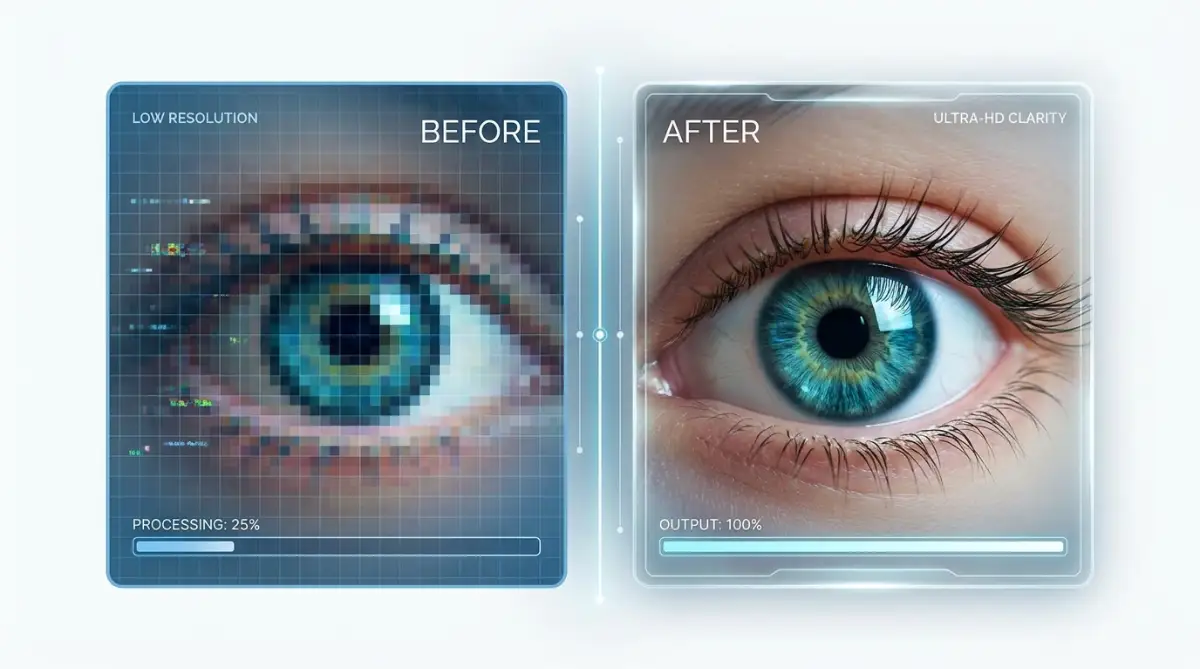
Unfortunately, standard resizing tools do not work like magic. When you use normal software to make a picture bigger, the computer simply stretches the existing pixels. Think of it like blowing air into a small balloon.
When the balloon is small, the picture printed on it looks thick and colorful. But as you blow more air into it, the rubber stretches out. The picture on the balloon becomes thin, faded, and heavily distorted.
Standard photo editors use a mathematical guessing game called interpolation. The software looks at two pixels and tries to guess what color should go between them. Because it is just a basic math formula, it cannot understand what it is actually looking at. It does not know if it is expanding a human eye, a tree bark, or a smooth piece of metal.
Why AI Requires a Completely Different Approach
This is exactly why your AI-generated pictures look like soft plastic when you stretch them normally. The original output from most free or standard AI generators is usually small to save server processing power.
To make them bigger, we have to use smart technology that actually understands the context of the picture. We need tools that look at an eye and say, "I know what an eye looks like, so I will draw in the missing eyelashes as I make it bigger."
Myth vs Reality in Digital Enhancements
Myth: Any free online image resizer will make my AI art look better if I save it as a PNG.
Reality: Saving a small, low-quality image as a heavy PNG just gives you a heavy, low-quality image. The file format does not magically create lost details.
Myth: I can just apply a heavy sharpening filter in my photo editor to fix the blur.
Reality: Sharpening filters just create harsh, bright edges around your existing pixels. This actually makes pixelation look much worse and adds ugly glowing lines.
The Smart Framework to Upscale Without Detail Loss
Now that we know why standard methods fail, let us walk through the exact, highly effective process to expand your images properly. We will use smart algorithms that rebuild your picture piece by piece.
My Quick Cheat Sheet for AI Upscaling Tools
You can apply these exact steps today, using various smart software options available online or on your computer. Follow these phases carefully, and you will never have to deal with muddy art again.
Phase 1: Preparing Your Canvas Before the Big Jump
The most common mistake people make is trying to expand a noisy, messy picture. If your original AI image has weird glowing dots, messy edges, or color artifacts, making it bigger will only magnify those errors.
You must clean the foundation first. Before you even touch a scaling slider, look closely at your picture. Are there weird compression blocks from downloading it?
Run your picture through a mild noise reduction filter first. You want to smooth out the unnatural digital junk, but keep the core shapes intact. This gives the smart algorithms a clean slate to work with. If you feed garbage into an expander, it will just generate high-resolution garbage.
**Watch This Incredible Breakdown on Image Cleaning**
**If you want to see exactly how professionals clean up their messy pixels before expanding them, you have to check out this amazing visual guide.**
Phase 2: Choosing the Right Smart Model for Your Art Style
This is the absolute most important part of the entire process. Not all smart upscaling models are built the same way. Different formulas are trained on completely different types of pictures.
If you choose the wrong model, your picture will look entirely unnatural. Let us break down how to choose the perfect engine for your specific piece of art.
For Realistic Photography and Portraits
If your AI picture looks like a real photo taken with a camera, you need a model designed to understand real-world textures. You want an engine that knows how skin pores, fabric threads, and tiny hair strands actually look. Look for models labeled specifically for photo realism. These models will carefully inject micro-details back into the skin and clothes, making the final result look like a high-end studio shot.
For Anime, Digital Art, and Illustrations
If you generated a flat 2D illustration or an anime-style character, using a realistic photo model will destroy it. The photo model will try to add weird skin pores to a flat cartoon face, which looks terrifying.
Instead, you need a model built specifically for anime and digital drawings. These models focus on keeping lines incredibly sharp and crisp. They make sure the solid colors remain smooth without adding any fake textures.
A Quick Comparison Guide
Phase 3: Controlling the Denoising Strength
When you run your image through a smart enhancer, you will often see a setting called "Denoising Strength" or "Similarity." This single slider controls the entire magic of the process.
This slider tells the software how much freedom it has to change the original picture. If you set this number entirely to zero, the software will not add any new details at all. It will just stretch the picture, bringing back the plastic look.
If you push the slider all the way up to the maximum, the software will completely hallucinate new things. It might turn a blurry rock into a strange turtle, or change a person's facial features completely.
The sweet spot is always somewhere in the middle. You want to give the software just enough freedom to invent small, missing textures without changing the main subject. Usually, keeping this setting around the 30% to 40% mark is incredibly effective. It keeps the original mood perfectly intact while magically sharpening the edges.
Pro-Tip: The "Noise vs. Style" Check
If you are upscaling an anime or cartoon style, keep your denoise strength even lower (around 10% to 15%). Anime relies on clean, flat colors. If you give the software too much freedom, it will try to add realistic lighting and 3D shadows to a 2D character, totally ruining the original art style.
My Personal Experience and Realization
I used to push the denoise slider way too high because I wanted maximum sharpness. One day, I printed a beautiful sci-fi city scene, only to realize the software had turned the distant blurry windows into weird, floating text! I realized right then that less is always more; you only want to enhance what is already there, not invent entirely new objects.
Phase 4: Fixing Distorted Human Faces
AI image generators struggle deeply with small faces in the background. If you have a wide shot of a crowd, the faces usually look like scrambled eggs. When you expand the image, those scrambled eggs just become high-definition scrambled eggs.
To solve this, you need a dedicated face restoration pass. Many modern upscaling tools have a specific checkbox for face correction.
These specific algorithms are trained exclusively on human facial anatomy. When they detect a messy, low-resolution face, they completely reconstruct the eyes, nose, and mouth to match normal human proportions.
Always run this face check if your artwork includes people. It is the difference between a professional, stunning portrait and a weird, nightmare-inducing picture. However, be careful not to make the faces look too perfect. Sometimes, mixing the original messy face with the new restored face at 50% opacity creates the most natural result.
Phase 5: Adding the Final Polish and Film Grain
Once the software finishes making your picture massive and detailed, it might look a little bit too sterile. Smart algorithms have a habit of making things look highly synthetic, like a plastic toy.
Real life is not perfectly smooth. Real cameras capture tiny particles of light called grain. To make your perfectly sharp AI image look completely authentic, you need to add a tiny amount of noise back into it.
Open your massive, newly upscaled image in a basic photo editor. Add a very subtle, transparent layer of film grain over the entire picture.
This tiny step acts like a magical glue. It ties all the newly generated pixels together. It hides any small mistakes the smart algorithm might have made. Suddenly, the image stops looking like a computer calculation and starts feeling like a real, tangible piece of art.
Common Mistakes You Must Avoid at All Costs
Even with the best tools in the world, human error can easily ruin the final result. I want to share some major traps you must avoid when expanding your art.
Do Not Upscale Too Much at Once
Do not try to take a tiny 512-pixel image and instantly blow it up to an 8k cinematic poster in one single click. The computer will panic and create massive distortions.
Instead, use a step-by-step approach. Double the size of the image first. Check the details, make sure everything looks correct, and then double it again. This slow and steady method gives you far more control over the final quality.
Do Not Ignore Your Background Textures
People get so focused on making the main subject sharp that they ignore the background. Sometimes, the software will make a person's face incredibly detailed but leave the background completely blurry.
This creates a fake, cutout effect that ruins the depth of the image. Always scan your eyes across the entire picture. If the background looks disconnected from the foreground, you might need to use a different model that treats the whole picture evenly.
By following this deep, methodical approach, you completely eliminate the frustration of low-quality files. You take full control over your creative outputs. You will finally be able to print your digital creations on massive canvases, use them in professional presentations, and share them with the world proudly.
Next-Level Strategies for Perfect Image Clarity
Once you understand the basic rules of making your pictures larger, you can start using professional tricks to get absolutely flawless results. These advanced methods are what separate amateur digital artists from true professionals. I want to share a few specific techniques that completely changed the way I handle my own digital artwork.
One of the smartest things you can do is learn about tiled processing. When you try to enlarge a massive picture all at once, your computer memory gets completely overwhelmed. The software often panics and creates a blurry, messy result to save processing power.
Instead, you can use software that breaks your picture into a tiny grid of smaller squares. Think of it exactly like painting a massive wall mural piece by piece. The smart engine focuses on just one tiny square at a time, making it incredibly sharp and perfect before moving to the next block.
This grid method allows you to add insane amounts of micro-detail to your art. A simple flat brick wall suddenly gets realistic cracks, moss, and weathering. To get the best results, you need to understand how the software reads your original text instructions, which you can learn by exploring the science behind your image prompts.
The Magic of the Double Pass Method
Sometimes, a single enhancement process just does not give you the crisp edges you want. I often use a technique called the "double pass" when I am working on highly detailed portraits. First, I run the picture through a mild cleaning engine to remove all the weird color dots and compression noise.
Then, I take that newly cleaned picture and run it through a completely different, highly detailed model. The first pass acts like a gentle soap, while the second pass acts like a sharp polishing tool. This exact combination prevents the picture from looking like cheap plastic.
Expert Insight: Why I Swear By The Double Pass
Think of the double pass method like washing a dirty car. If you apply wax over a car covered in mud, it just seals the dirt inside. The same rule applies to digital art. Always wash away the noisy pixels first (Pass 1) before you add the shiny high-resolution details (Pass 2). It adds about five extra minutes to your workflow, but the results look like a professional studio edited them.
You also need to keep a close eye on your shadow details during this process. A lot of smart algorithms accidentally brighten up dark areas, making the picture look completely flat. If you want to keep your moody atmosphere intact, make sure you understand the lighting mistakes you must avoid when working with digital files.
Blending Old and New Textures
Here is a secret that very few people talk about in the digital art community. You do not have to accept the final result exactly as the software gives it to you. Often, the enhancer will do an amazing job on the main subject but completely ruin the background text or small logos.
When this happens, I open both the original picture and the new high-resolution picture in my editing software. I place the sharp picture on top of the original one as a new layer. Then, I simply take an eraser tool and wipe away the parts where the smart engine made a mistake.
This manual blending gives you the absolute best of both worlds. You get the stunning, crisp details on the main subject, while keeping the perfectly accurate background elements from your first draft. This level of control is essential, especially when you are trying to master AI character consistency across multiple different projects.
Managing Massive High-Definition Files
When you start upgrading your art, you will quickly notice a massive problem with your computer storage. A standard digital picture might take up two megabytes of space on your hard drive. Once you expand it to a cinematic 8k resolution, that single file can easily jump to over one hundred megabytes.
If you are generating dozens of pictures every single day, your computer will completely run out of space in a week. You must build a very strict organization system right from the start. I highly recommend buying a dedicated external hard drive just for your upgraded artwork.
You also need to understand the technical side of saving these heavy files. Saving everything as a standard JPEG will instantly compress the file and destroy all the sharp details you just spent hours building. According to professional archiving standards similar to those used by the digital preservation formats guide, you should always save your final master copies as uncompressed TIFF or PNG files to protect your hard work.
The Silent Traps That Destroy Beautiful Digital Art
Making your art bigger seems like a harmless task, but it can actually ruin your work permanently if you are not careful. I have seen incredibly talented creators destroy their own portfolios because they fell into a few common traps. Let us walk through these dangerous mistakes so you can keep your artwork looking expensive and professional.
The Terrifying Plastic Wrap Effect
The absolute worst mistake you can make is relying entirely on the software to smooth out your picture. When people see a slightly fuzzy edge, their first instinct is to push the smoothing slider all the way up to maximum. They think this will magically clean up the messy lines and make the art look perfectly sharp.
In reality, extreme smoothing destroys every single natural texture in the picture. The skin loses its pores, the clothing loses its fabric weave, and the entire image looks like it was covered in thick, melted plastic. This is exactly why your AI images look blurry and how to fix them fast by using a much more balanced approach.
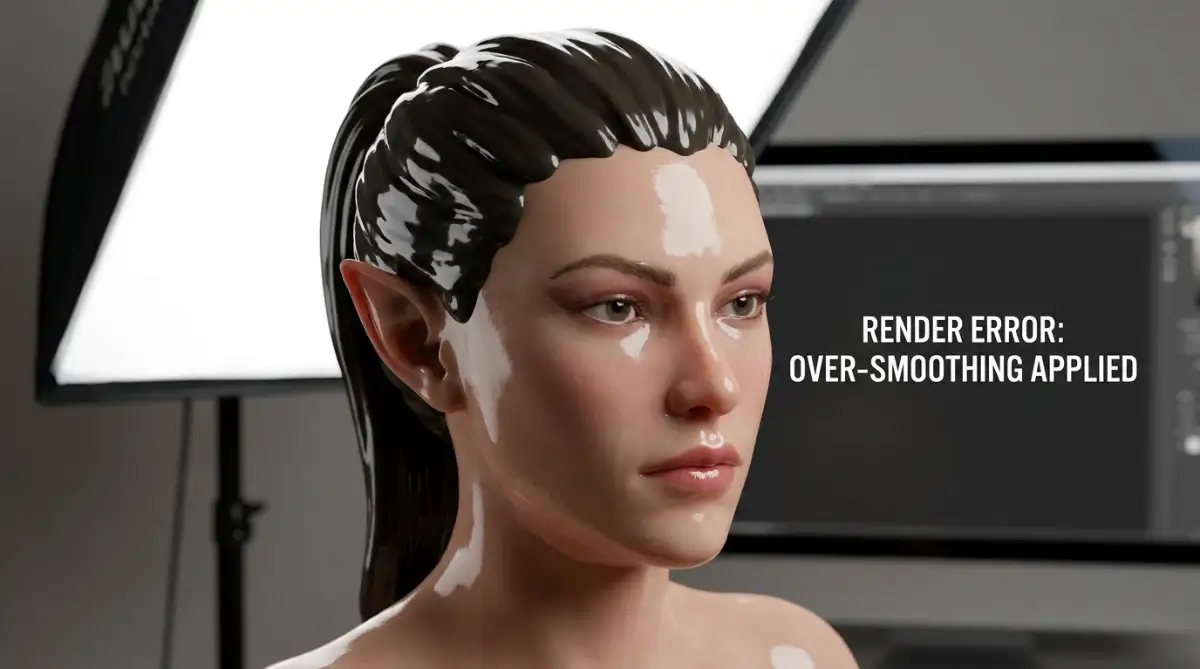
If your final picture looks like a cheap action figure, you have gone way too far. You always want to leave a tiny bit of natural grain in the final product. That slight imperfection is what makes the digital file look like a genuine photograph or a hand-painted canvas.
Ignoring Bad Anatomy Before Expanding
Many digital artists get so excited about a beautiful background that they ignore obvious errors in the main subject. If your generated character has six fingers or a strange, distorted eye, expanding the picture will not fix it. The smart engine will simply turn that small, blurry mistake into a massive, highly detailed mistake.
A high-definition monster is still a monster. You must fix these weird physical errors before you ever attempt to make the canvas bigger. I strongly suggest you learn exactly how to fix deformed AI hands and faces using basic editing techniques.
If you fix the anatomy while the file is still small and manageable, the final enhancement process will go perfectly smoothly. The algorithms are incredibly smart, but they cannot read your mind. They only enhance the shapes you actually give them.
Wasting Money on Ruined Prints
The emotional sting of a bad enhancement really hits you when you decide to print your work. A picture might look perfectly fine on your small glowing phone screen. But when you send it to a professional printer and pay fifty dollars for a large canvas, the truth comes out.
I once printed a massive sci-fi landscape for my living room wall. When it arrived in the mail, I realized the upscaling software had turned distant flying birds into weird floating squares of color. I had to throw the entire expensive canvas straight into the trash because I did not zoom in and check my work.
Always view your final picture at 100% zoom before you ever consider publishing or printing it. Scan your eyes across the entire digital canvas, checking the corners, the deep shadows, and the distant background. Additionally, make sure you understand the basics of standard printing rules, much like the color space guidelines provided by Adobe, so your bright colors do not turn dull on paper.
Relying on the Wrong Hardware
People often assume that any old laptop can handle massive image processing tasks. While web-based tools do most of the heavy lifting for you, running local enhancement software requires serious power. If you try to process a massive 8k file on an outdated machine, your computer will simply freeze and crash.
You do not need a supercomputer, but you do need to manage your expectations. If your laptop sounds like a jet engine when you open basic software, you should stick to cloud-based solutions. Those who want to run advanced models locally should read up on how modern graphic cards manage these intense workloads, similar to how advanced computational processing handles live video enhancements.
Your Action Plan for Flawless Digital Art
Now you know exactly how to handle those tiny, frustrating image files. We went over why normal stretching tools ruin your pictures, how to clean up the messy edges, and why picking the right smart model changes everything. You do not have to accept muddy, unusable artwork anymore.
Start treating your image processing exactly like a professional photography darkroom. Take your time, test different models, and never rely on a single magic button to do all the work. You are the artist, and the software is simply a tool that follows your direct commands.
Begin your journey today by going back through your older, lower-quality files. Pick one image that you absolutely love but previously abandoned because it was too small. Apply the gentle cleaning step, choose the right smart model, and watch as those lost details magically appear right before your eyes.
Common Questions About Perfect Image Resizing
Can I just use my standard phone app to make my art bigger?
Most basic phone apps only stretch the existing pixels, which makes the image look instantly fuzzy and terrible. To get professional results, you really need to use dedicated smart software that rebuilds the lost textures.
Will this process fix words and text that look like gibberish?
Unfortunately, no upscaling tool can magically read broken, unreadable text and turn it into real words. You will need to erase the bad text and type it out yourself using a basic photo editor before making the image larger.
Why does my final picture look like a shiny plastic toy?
This happens when you push the smoothing or noise reduction settings way too high. Try lowering the denoise strength to around 30% so you keep the natural, realistic grain in the final file.
Is there a way to make the file size smaller without ruining the new quality?
Yes, you can use smart compression tools that reduce the heavy file weight while keeping the picture completely crisp. Just be sure to save a massive backup copy of the original just in case things go wrong.
Do I have to pay for expensive subscriptions to get good results?
Absolutely not, as there are many completely free, open-source programs available that run directly on your home computer. However, paid cloud services are often much faster and do not require you to own a powerful graphics card.
Disclaimer: The strategies, tools, and techniques discussed in this article are for informational and educational purposes only. Software interfaces, features, and algorithms frequently update over time. We recommend testing all upscaling settings on duplicate files to prevent accidental loss of your original artwork. We are not responsible for any technical issues, data loss, or printing costs associated with using third-party digital enhancement software. Always review the terms of service of any cloud-based tool before uploading your personal files.
THANK YOU