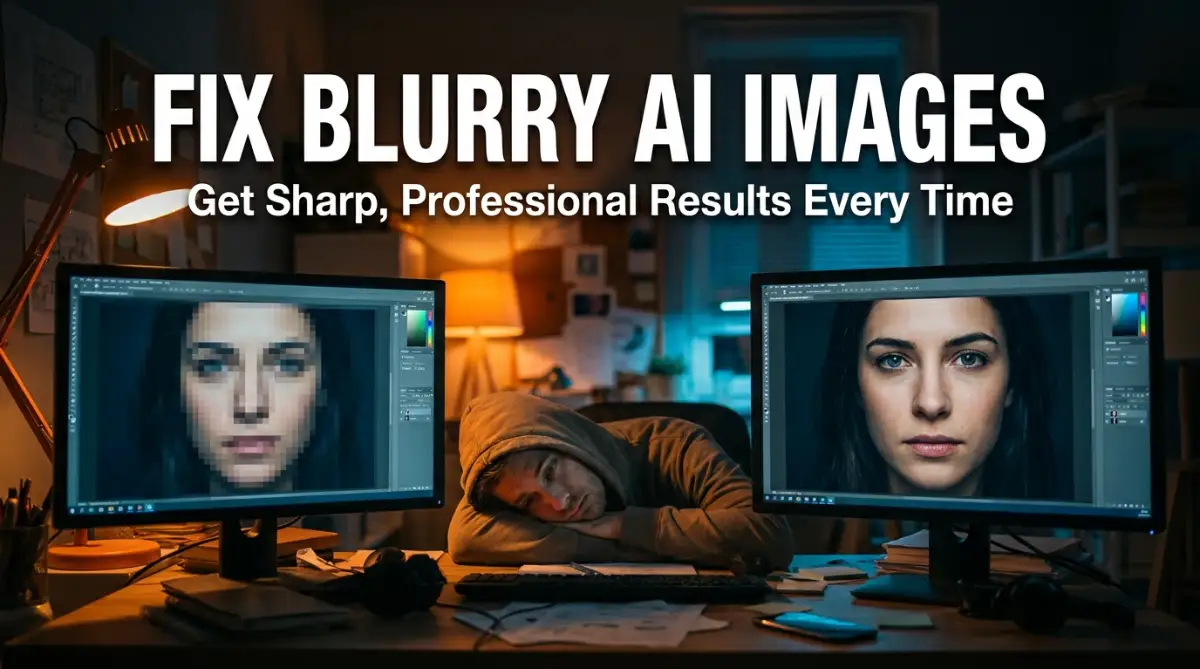
I Know the Frustration of Blurry AI Results
You type in the perfect prompt, hit generate, and... you get a potato. I know the exact feeling. You wanted a sharp, highly detailed masterpiece, but your screen is showing a smeared, blurry mess. It is incredibly annoying, especially when everyone else seems to be posting flawless AI art online. Let me show you exactly why your images are coming out soft and the simple tweaks I use to get crisp, high-definition results every single time.
It was a real struggle that made me want to give up on AI tools entirely. I spent weeks testing different settings and buttons. I finally found the hidden reasons behind this common problem. Now, I want to share my journey with you so you don't have to feel that same stress.
Quick Fixes for Sharp AI Art (At a Glance):
- Stop Word Salad: Keep your prompts simple. Use exact terms like "sharp focus" instead of random adjectives.
- Mind Your Lighting: Add phrases like "cinematic shadows" or "side lighting" to force the AI to draw clear edges.
- Tweak the Denoising: When fixing a blurry picture, keep your Denoising Strength between 0.4 and 0.5.
- Always Upscale: Never resize manually. Use a dedicated AI upscaler to fill in missing high-definition details.
The Emotional Toll of Poor Image Quality
It is hard to stay creative when your tools don't cooperate. You have a beautiful vision in your mind. You want to see it come to life in high definition. When the AI gives you a blurry mess, it feels like a personal letdown. You might feel like you are wasting your time or even your money.
This lack of clarity is not just a technical glitch. it is a wall that stops you from sharing your voice. It creates a sense of defeat that is hard to shake off. I have talked to many friends who felt the same way. We all just wanted our art to look real and professional.
Common Mistakes That Kill Image Clarity
One big reason for blurriness is choosing the wrong size. I used to pick small squares because they were fast to generate. I didn't realize that stretching those small squares later would ruin them. Small sizes have fewer pixels to work with. If the AI doesn't have enough pixels, it just guesses the details.
Another issue is being too vague with your instructions. I used to just type "a cat in a garden." The AI would get confused about where to focus. This confusion often leads to a soft look across the whole image. You need to tell the AI exactly where the sharpness should be.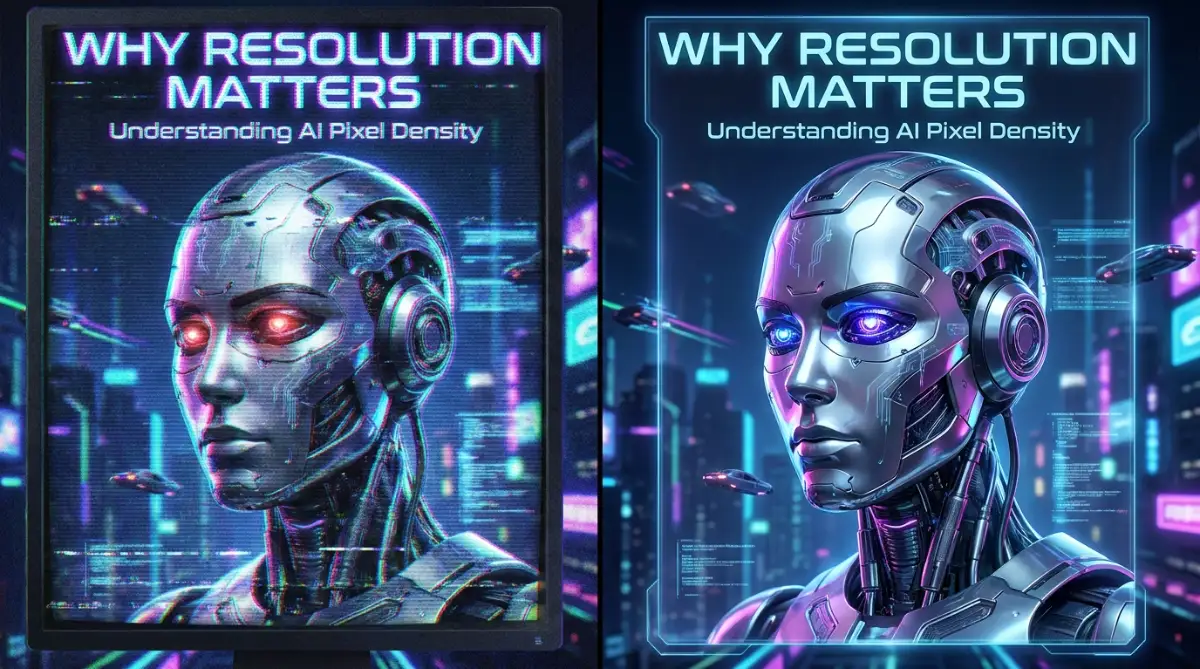
Here is a quick Myth vs. Fact table about AI image sharpness that I learned the hard way:
Sometimes, the AI model itself is the problem. Not all versions of these tools are built for high detail. Some are made for speed, while others are made for beauty. If you use a "fast" mode, you often trade away the sharpness you crave. It is a balance you have to learn over time.
How Blurry Images Affect Your Online Presence
If you run a blog or a social media page, quality is everything. People scroll past blurry images in a heartbeat. It makes your website look unprofessional and messy. You want people to stop and stare at your work. Sharp images build trust with your audience.
Google and other platforms love high-quality visual content. They want to show their users the best of the best. If your images are fuzzy, they might not show your posts to many people. This is why fixing the blur is a huge step for your growth. It is about more than just a pretty picture.
Setting the Right Foundations for Sharpness
To get clear images, you must start with the right resolution settings. Think of resolution like a canvas for a painter. If the canvas is too small, the painter cannot add fine details. I always suggest using the highest aspect ratio your tool allows. This gives the AI more "room" to place tiny details like hair or skin pores.
Most people stick to the default settings because they are easy. But the default is often not the best for professional work. You should look for settings like "High Definition" or "Raw" mode. These modes tell the computer to spend more time on the edges of objects. This simple change can make a massive difference in your results.
Mastering the Language of Clarity
The words you use are like a lens on a camera. If you use words like "soft lighting" or "dreamy," the AI will make things blurry on purpose. If you want sharp images, you need to use "sharp" words. Use terms like "8k resolution," "highly detailed," or "sharp focus." This tells the AI to tighten up the pixels.
I found that adding "depth of field" to my prompts helped a lot. It tells the AI to make the main subject sharp and the background soft. This contrast makes the main part of your image pop. It stops the whole picture from looking like a flat, fuzzy pancake. It is a trick that professional photographers use all the time.
Using Negative Prompts to Remove Fuzz
Negative prompts are a secret weapon for many experts. These are the things you tell the AI not to include. I started adding words like "blurry," "distorted," and "low quality" to my negative list. This acts like a filter for the generation process. It forces the AI to avoid the mistakes that cause blur.
I noticed a huge jump in quality once I started doing this. It was like magic. The AI suddenly knew that I wouldn't accept a messy result. You can also add words like "out of focus" or "grainy." These small additions work behind the scenes to keep your art clean and crisp.
The Power of Proper Lighting and Contrast
Lighting plays a huge role in how sharp an image looks. If the lighting is too flat, the AI struggles to define edges. This leads to a hazy look that many people mistake for a bug. Try adding "dramatic lighting" or "cinematic shadows" to your prompts. This creates clear lines between light and dark areas.
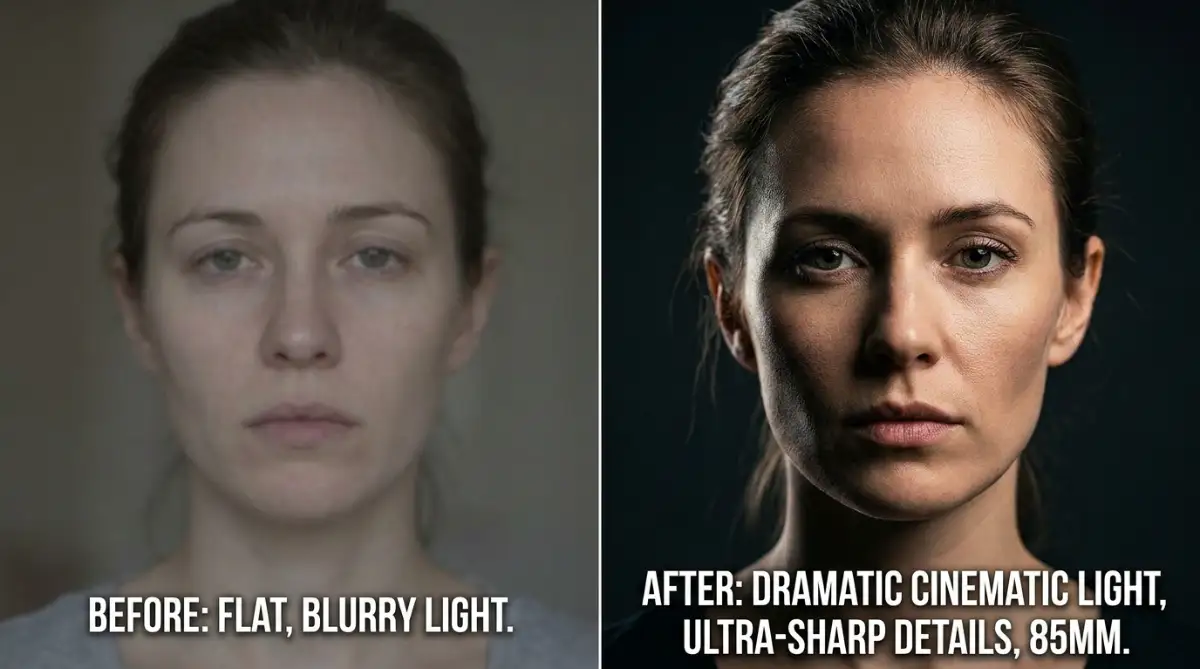
When there is strong contrast, the AI can "see" the shapes better. It knows exactly where a person's face ends and the background begins. This separation is key to a sharp look. I once tried to generate a white cat in a snowstorm. It was a blurry mess because there was no contrast for the AI to follow.
Why Your Hardware Might Be Holding You Back
Sometimes, the blur isn't your fault at all. If you are running AI tools on your own computer, your graphics card matters. Low video memory can force the AI to lower the quality to keep from crashing. I learned this the hard way when I tried to use an old laptop. My images always looked like they were covered in fog.
If you use cloud-based tools, this is less of an issue. But you still need a stable internet connection. A glitch in the data stream can sometimes cause artifacts in the final file. Always make sure your connection is strong before you start a big project. It saves you from a lot of head scratching later on.
Pro Tip: The Mistake I Made with "4K" Keywords
I used to think that just typing "4K" or "8K" would solve everything. I was wrong. I spent days wondering why my "4K" images still looked like 480p videos. I realized that the AI doesn't always know what those numbers mean. It just sees them as words. Instead of just using numbers, I started describing the details I wanted. I would say "fine skin textures" or "crisp fabric patterns." This worked much better than just using technical jargon.
Learn More About Enhancing Your AI Art
Watching someone fix a blurry image in real-time is the best way to learn. It helps you see the exact buttons they click. You can see the "before and after" results clearly. I found a great video that walks through these steps for beginners. It makes the whole process feel much less scary.
Check out this amazing guide on sharpening AI images below:
If you want to see these sharpening techniques in action, I highly recommend watching this professional comparison of the best free tools available today. It simplifies the entire process of turning a blurry AI render into a high-definition masterpiece.
Advanced Upscaling: The Final Step to Perfection
Even the best AI models sometimes need a little extra help. This is where upscaling tools come into play. An upscaler is a special software that takes your image and makes it bigger and sharper. It doesn't just stretch the pixels. It uses its own AI to "guess" and draw in the missing details.
I use an upscaler for every single piece of art I share. It takes an image that looks "okay" and makes it look "wow." There are many free and paid options available online. You can find ones that work right in your browser. This step is what separates the hobbyists from the professionals.
The Role of "Seed" Numbers in Image Stability
Every AI image has a "seed" number. This is like the DNA of the picture. If you find a style you love but it is a bit blurry, keep that seed number. You can then tweak your prompt and keep the same layout. This allows you to "focus" the image without changing the whole scene.
I used to ignore seed numbers completely. I would just hit "generate" over and over again. I was basically gambling with my time. Once I started using seeds, I could fix a blurry face while keeping the background perfect. it is a much smarter way to work and saves a lot of energy.
Choosing the Right Model for the Job
Different AI models have different "personalities." Some are great at drawing people but bad at scenery. Others are amazing at buildings but make faces look soft. You need to pick the right tool for your specific goal. If you want a realistic photo, use a model trained on real photography.
I spent a lot of time testing different models to see which ones were the sharpest. I found that the newer versions are much better at handling fine lines. If you are still using an old version, that might be your main problem. Upgrading to the latest version is often the easiest fix of all.
Final Thoughts on Achieving Crystal Clear AI Art
Getting sharp AI images is a journey, not a single click. It takes a mix of the right settings, better words, and a few extra tools. Don't feel bad if your first few tries are still a bit fuzzy. Every expert you see once struggled with the same blurry mess.
Keep experimenting with your prompts and your lighting. Try the negative prompts I mentioned earlier. And most importantly, don't forget to upscale your final choice. With these steps, you will soon be creating art that people won't believe was made by a computer. You have the vision, and now you have the skills to make it sharp.
Getting Beyond the Basics for Perfect Sharpness
Once you have your basic settings right, you need to look at the deeper technical side of things. I spent a long time wondering why my friends got better results with the same prompts I used. I realized they were using "Advanced Sampling Methods" that I didn't even know existed.
One of the best things I learned was to adjust the CFG Scale. This stands for Classifier Free Guidance. If you set this number too high, your image will look "burnt" or overly sharp in a bad way. If you set it too low, the AI ignores your prompt and everything looks like a blurry dream. I usually keep mine between 7 and 9 to get that sweet spot of clarity and creative freedom.
Another trick I use is choosing the right Sampling Steps. Many people think more steps always mean a better image. I used to set mine to 100 and wait for ten minutes, only to get a grainy mess. Most modern AI models work best between 20 and 40 steps. Anything more often just adds "noise" which makes the image look blurry again. You can read more about the technical side of how this works in this detailed guide on decoding generative AI the science behind your image prompts.
The Secret of Denoising Strength
If you are using a tool to fix a blurry image, you will see a slider called Denoising Strength. This was a game-changer for me. When I first started, I would turn this all the way up. The result was a sharp image, but it looked nothing like my original idea.
I found that keeping the denoising strength around 0.4 to 0.5 works best for sharpening. It keeps the original shapes but clears up the fuzzy edges. It is like putting on a pair of glasses for the first time. Suddenly, the eyes have a sparkle, and the hair has individual strands instead of being a brown blob.
If you are confused about how much Denoising Strength to use when fixing a blurry photo, I made a handy cheat sheet for you:
Using this setting correctly is a major part of a perfect text prompt formula that actually delivers results. It takes practice to get it right. I spent hours moving that slider back and forth until I understood how it talks to the AI. Now, I can fix a blurry photo in seconds just by knowing my favorite numbers.
Why Tiling and Patterns Look Fuzzy
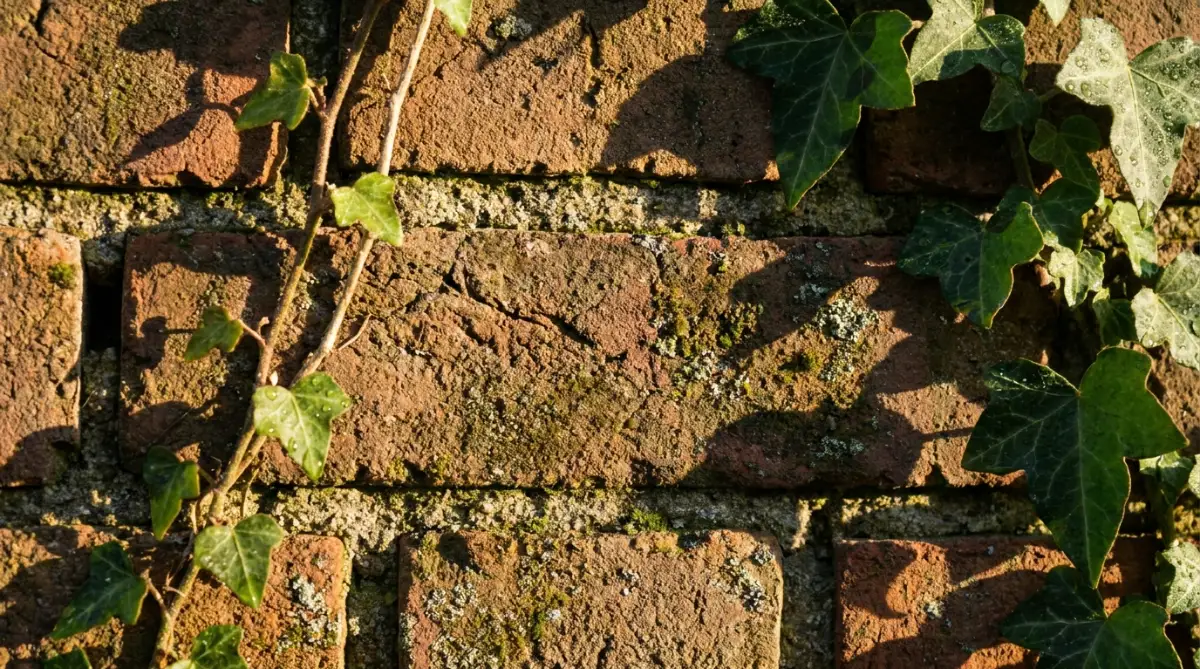
Have you ever tried to make a wallpaper or a brick wall and it just looks like a grey smudge? This happens because the AI gets lost in the repeating patterns. To fix this, you need to use a feature called Tiling Mode. This tells the AI that the edges need to match up perfectly.
When you turn on tiling, the AI pays more attention to the lines. It makes sure that every brick or every flower is sharp because it knows they have to repeat. I used to get so frustrated with blurry textures until I found this button. It changed how I make backgrounds for my digital art projects.
If you want to know exactly why the computer struggles with these fine patterns, you should check out this amazing guide on how diffusion models work from MIT. It explains the hidden math behind AI art in a way that actually makes sense. Understanding why the computer struggles with these complex patterns will help you become a much better prompt engineer in the long run.
Using Face Restoration Tools Wisely
We all hate it when the body of a character looks perfect but the face is a blurry nightmare. I used to throw away thousands of images because of this. Then I discovered Face Restoration tools like CodeFormer or GFPGAN. These are built-in features in many AI software packages.
They work by looking specifically at the eyes, nose, and mouth. They redraw these parts using a library of high-quality faces. However, a big mistake I made was using it too much. If you turn it up to 100%, the person looks like a plastic doll. I keep mine at about 50% to maintain a natural look while removing the blur.
This technique is especially helpful when you are trying to master AI character consistency. Keeping the face sharp across different images makes your character feel real. It builds a connection between the viewer and the art that a blurry face just can't do.
The Trap of Over-Prompting and Word Salad
One of the most painful mistakes I see people making is adding too many words. I used to think that if I typed 50 adjectives, the image would be 50 times better. I would add words like "ultra-sharp," "hyper-real," "super-detailed," and "masterpiece" all in one sentence.
The truth is, this actually confuses the AI. It tries to do everything at once and ends up doing nothing well. The result is often a "mushy" image where no single part is clear. I call this the Word Salad Trap. It leads to a loss of focus and a very blurry outcome.
When I started using fewer, more powerful words, my images became much clearer. I stopped shouting at the AI and started giving it clear, simple directions. If you want a sharp eye, just say "sharp blue eyes." Don't say "the most incredible sharp blue eyes ever seen in the history of the world." The AI prefers the simple version every time.
Ignoring the Importance of Lighting Direction
I used to wonder why my images looked flat and out of focus. Then I realized I wasn't telling the AI where the light was coming from. Without a clear light source, the AI doesn't know where to draw shadows. Shadows are what create sharp edges.
If there are no shadows, everything blends together into a grey or tan blur. I started adding "side lighting" or "rim lighting" to my prompts. This created a sharp line around the edges of my subjects. It made them stand out from the background and look incredibly crisp.
You can learn more about how to fix these lighting issues in my post about lighting mistakes you must avoid. It is one of the fastest ways to turn a blurry image into a professional-looking photograph. Once you master light, you master sharpness.
The Danger of Low Resolution Upscaling
Many people take a small, blurry image and just try to make it bigger with a basic photo editor. This is a huge mistake. All you are doing is making the blur bigger. I did this for months before I realized why my prints looked so bad.
You must use an AI Upscaler that actually re-draws the pixels. If you just resize it in Paint or Photoshop without using AI tools, you lose all the quality. This can ruin your reputation if you are trying to sell your work or use it for a client. It makes you look like you don't know what you are doing.
Using a professional upscaler like those discussed on Hugging Face is the only way to go. These tools look at the blurry parts and intelligently fill in the gaps. It is the difference between a pixelated mess and a sharp 4K masterpiece. Don't skip this step if you want to be taken seriously.
Giving Up Too Soon on a Good Seed
I used to be very impatient. If an image came out a little blurry, I would just delete it and try a new prompt. I didn't realize that I was throwing away "gold." Sometimes, a blurry image has the perfect pose or the perfect colors.
Instead of deleting it, you should try to "fix" it using the same Seed Number. I learned to keep the seed and just slightly change the prompt to add more detail. This saved me so much time. I stopped chasing a new random image every time and started refining the ones I already liked.
This lack of patience is a mistake that stops many people from ever becoming great at AI art. They think the computer should do all the work perfectly the first time. But the best art comes from a human and a computer working together through many steps. Don't be afraid to stay with one image until it is perfect.
My Daily Routine for Crystal Clear Results
Here is the exact 3-step checklist I run through before I save any piece of AI art. Feel free to steal this routine:
- Step 1: The Foundation Check: I start with a simple prompt and keep the CFG scale around 7. I always double-check that I have added lighting words (like "side lighting").
- Step 2: The Mid-Generation Boost: If the small preview looks good but a bit soft, I turn on the "High-Res Fix" feature. This is like handing the AI a magnifying glass while it draws.
- Step 3: The Final Polish: I never post the raw output. I always run my favorite result through a dedicated AI upscaler to lock in those crisp details.
Once I made this my daily habit, my blurry image problem completely disappeared.
Your Action Plan for Sharp AI Art
You now have everything you need to fix those soft, muddy pictures. Don't worry about trying to remember every single technical term today. Just pick one blurry image from your folder, lower that CFG scale, and add a few sharp lighting words to your prompt. You will be shocked by how much better it looks.
Go open your AI tool right now and give it a try. I can't wait to see the sharp, amazing art you create!
Before we jump into the questions, here is a quick troubleshooting cheat sheet. If you see a specific type of blur, here is exactly what you should fix first:
Common Questions About Blurry AI Images:-
Why do my AI images look grainy even when I use 4K in the prompt?
Graininess usually comes from having too many "Sampling Steps" or a "CFG Scale" that is set too high. The AI starts to add unnecessary digital noise when it tries too hard to follow a complex prompt. Try lowering your steps to 30 and your CFG to 8 for a cleaner look.
Can I fix an image that is already generated and blurry?
Yes, you can use AI upscalers or "Image-to-Image" tools to sharpen an existing picture. By uploading your blurry image and using a low "Denoising Strength" (around 0.3), the AI can redraw the blurry parts and make them look much crisper.
Does the aspect ratio affect how sharp the image is?
Absolutely. If you choose a very wide or very tall aspect ratio, the AI sometimes stretches the pixels, which leads to a soft or blurry look. It is often better to generate a standard square or 3:2 image first and then crop or expand it later for better clarity.
What are the best negative prompts to stop blurriness?
The most effective negative prompts are "blurry," "lowres," "extra limbs," "fused fingers," "watermark," and "cropped." Adding these tells the AI exactly what you want to avoid, which forces it to focus on creating a high-quality and sharp final product.
Should I always use Face Restoration?
Not always. Face restoration is great for portraits, but it can make faces look unnatural if the character is far away in the background. Use it only when the face is the main focus of your image, and keep the strength around 50% for the best results.
Disclaimer: The tips provided in this guide are based on personal experience and current AI technology. Results may vary depending on the specific AI model or software you are using. We do not promote any specific paid tools, and all advice is for educational purposes only. Always check the terms of service for the AI tools you use.
THANK YOU