Why Do Image Generators Keep Ruining Our Best Prompts?
You type the perfect prompt, hit enter, and wait. The progress bar hits a hundred percent, and... your gorgeous digital character has eight melting fingers and an eye sliding down their neck. We have all been there, and honestly, it is incredibly frustrating. You just want a normal picture, but it feels like you are fighting a machine that has never seen a real human being before. Instead of getting mad at the algorithm, I want to show you exactly why this happens and how you can fix these weird mutations right now.
If you use popular tools like Midjourney or Stable Diffusion, you probably know this exact feeling of sudden, crushing disappointment. We spend so much time and creative energy crafting the perfect text prompt, waiting anxiously for the generation loading bar to reach a hundred percent. When the image finally pops up on the screen, your heart just sinks.
We simply want a reliable, steady way to create beautiful characters without praying to the algorithm gods every single time we click generate. It feels like every time we solve one problem, another weird mutation pops up to ruin the shot. You might even start second-guessing your own skills, wondering if you are just terrible at writing prompts. The truth is, the mental toll of constantly fixing these bizarre anatomical mistakes is incredibly high for digital creators right now.
What You Will Learn In This Guide:
- Why AI tools completely fail at drawing basic human body parts.
- How to use specific negative prompts to stop bad anatomy before it happens.
- The exact way to use inpainting to fix one small mistake without throwing away the whole picture.
- Why using structural skeletons (like ControlNet) is the absolute best way to force perfect poses.
Decoding the Anatomy of AI Image Failures
Before we can actually solve this massive headache, we need to understand exactly why these smart systems fail so badly at drawing human bodies. Image generators do not actually know what a human hand or a face is. They do not understand bones, muscles, joints, or how human biology works in the real world.
These platforms only understand noise and complex patterns of pixels. When an image generator looks at millions of pictures of hands during its training phase, it sees a messy cluster of fingers interacting with objects. Because hands are almost always moving, grabbing, or pointing in training photos, the machine gets highly confused about where one finger ends and another begins.
This is a well-known scientific issue in machine learning called spatial pattern confusion. The software sees a pattern of knuckles and fingernails, so it simply guesses that adding more of them will make the image look more accurate. It is like asking a talented artist to draw a bicycle when they have only ever seen a blurry picture of a bicycle wheel spinning very fast.
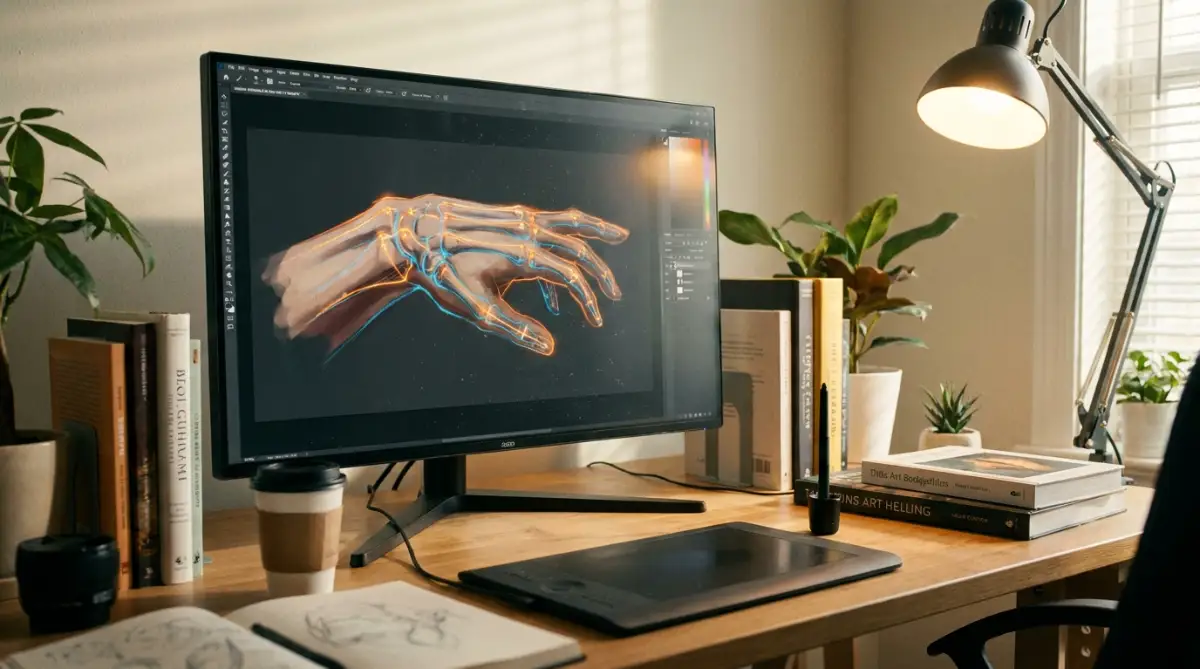
Faces suffer from a similar, yet slightly different problem entirely. Human beings are biologically wired to notice the tiniest symmetrical errors in other human faces. Even if the AI gets the overall shape right, a pupil that is off by just two pixels will trigger the "uncanny valley" effect in our brains. The system just thinks it is drawing a circle, but our brains instantly recognize that the person looks terrifying.
Mastering the Science of Negative Prompting
The very first line of defense against terrifying mutations is teaching the system exactly what you do not want to see. Most beginners spend all their energy describing beautiful lighting and cinematic camera angles, completely ignoring the negative prompt box. The negative prompt is where you build a strong, protective wall against bad anatomy.
Instead of just typing "ugly" or "bad hands," you need to be extremely specific and clinical with your negative commands. You have to speak the language of the machine to force it into better anatomical decisions. When generating human subjects, your negative prompt should always include highly specific anatomical terms.
Use commands like "extra digits, mutated hands, poorly drawn face, asymmetric eyes, missing fingers, fused fingers, disfigured anatomy." By listing these exact failures, you mathematically reduce the chance of the system pulling from its most confused training data. It essentially tells the algorithm to completely ignore any pixel patterns that look like melted flesh or extra joints.
My early days of generating images were a total nightmare because I thought writing "perfect hands" in the main prompt was enough. I quickly realized that AI doesn't understand the concept of "perfect," it only understands how to avoid the specific errors you list in the negative box. Once I started typing "fused fingers, extra knuckles" in my negative prompts, my success rate jumped dramatically.
Here is a quick breakdown of my personal cheat sheet for negative prompts. Feel free to copy these exact words into your own workflow:
You should also adjust the weight of your negative prompts depending on the platform you are using. Sometimes, adding heavy emphasis on a negative word can clear up a muddy generation instantly. It takes a little bit of testing, but building a master list of negative anatomical terms will save you countless hours of stress.
The Surgical Precision of Inpainting
Even with the best prompts in the world, sometimes you will still get a beautifully generated image that has one tiny flaw. This is exactly where the magic of inpainting comes into play. You do not need to throw away the whole image and start from scratch just because the character has a weird thumb.
Inpainting allows you to paint a digital mask over the specific problem area, telling the AI to regenerate only that exact spot. Think of it like taking a digital eraser, wiping away the mutated hand, and asking the system to try drawing it again. The secret to highly successful inpainting is understanding how much context the machine needs to fix the error.
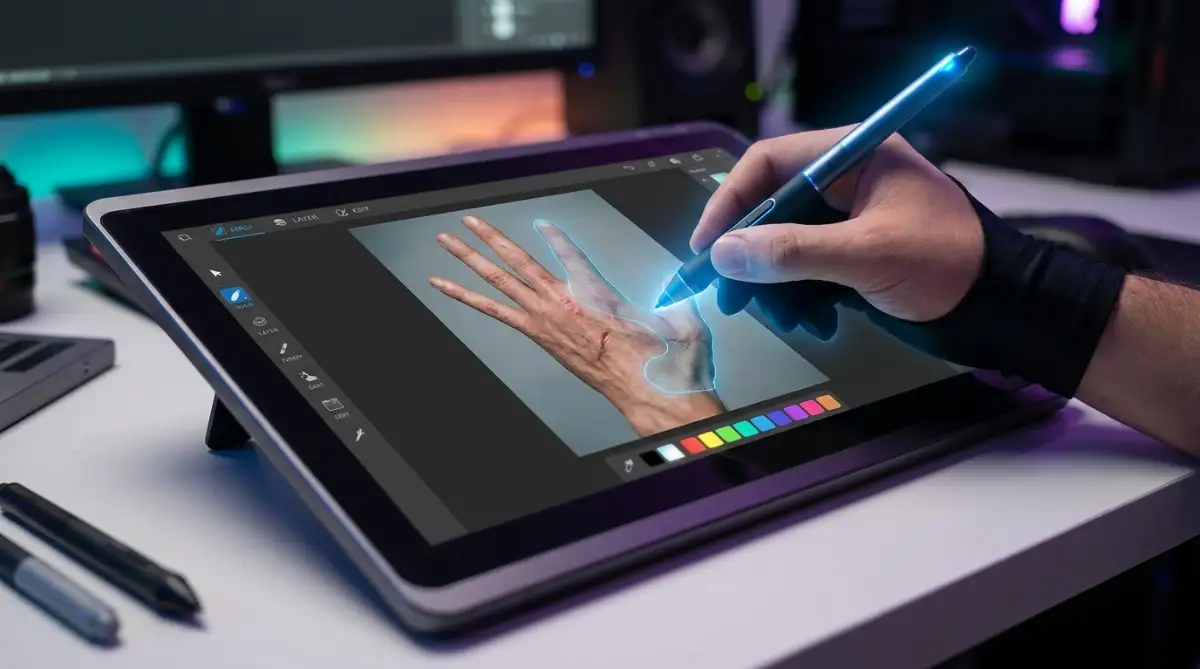
If you mask only the fingertips, the AI has no idea how those fingers connect to the palm of the hand. You must mask the entire hand, and sometimes part of the wrist, so the software understands the complete structural flow of the arm. You should also change your text prompt during the inpainting process to focus strictly on the masked area.
Instead of keeping your original long prompt about the whole scene, change it to simply say "a perfect human hand resting on a table." This forces the system to concentrate all of its computing power entirely on generating a realistic hand in that specific masked spot. You will be amazed at how quickly this method turns a useless image into a flawless final product.
Watch This Quick Visual Demonstration:
If you are struggling to get the masking process right, watching a live demonstration can completely change your workflow and save you hours of frustration.
Providing a Skeleton with ControlNet Technologies
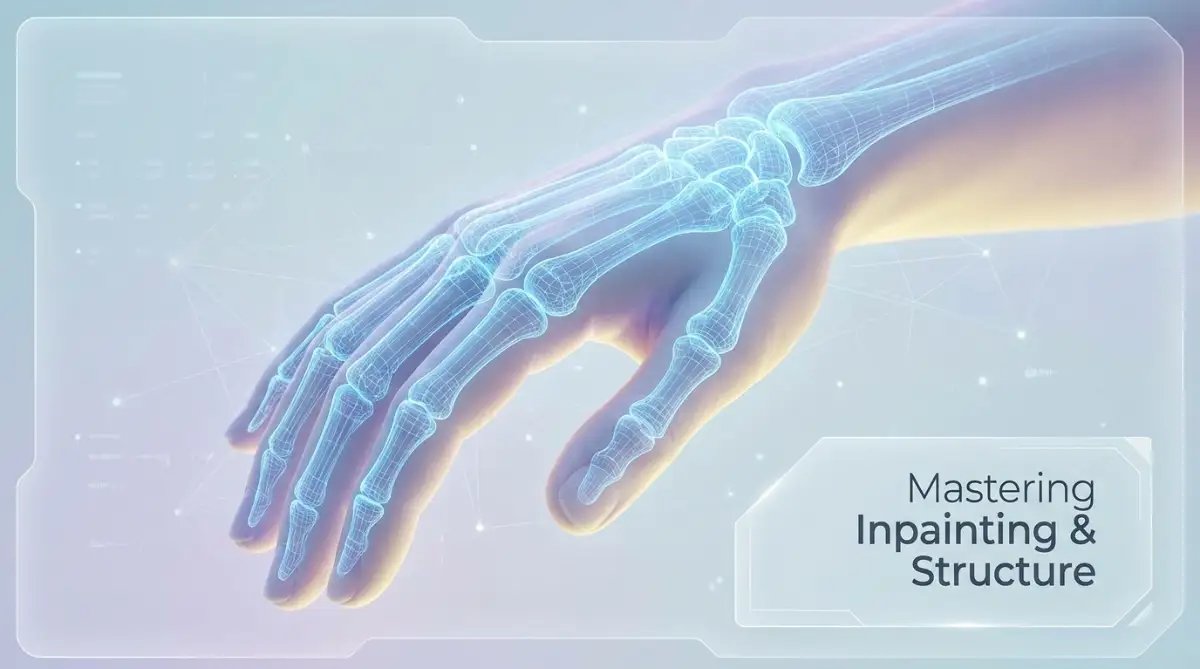
For users on platforms like Stable Diffusion, there is an incredibly powerful, scientific way to force perfect anatomy every single time. It is a feature called ControlNet, and it acts exactly like giving your digital artist a solid wireframe skeleton to trace over. Rather than letting the system guess where the fingers should go, you physically map out the bone structure first.
Using the Depth or OpenPose modules, you can extract the exact pose of a real human hand from a reference photograph. You just upload a picture of your own hand making the pose you want. The software creates a colorful stick-figure map of your joints and knuckles.
When you run your generation, the AI is completely locked into that specific skeletal structure. It cannot add a sixth finger because there is no bone for a sixth finger on the map you provided. It cannot melt the wrist into a coffee cup because the depth map strictly defines where the skin ends and the cup begins.
My Personal Quick Tip: I actually keep a folder on my desktop called "Perfect Hand Poses." I took ten pictures of my own left hand holding different things (a cup, a phone, a pen) against a blank wall. Now, whenever I need ControlNet to fix a hand, I just drag and drop one of my own photos into the reference box. It works every single time and saves me so much stress!
Common Myths vs Reality in AI Anatomy
Using structural controls takes the guesswork entirely out of the equation. It turns image generation from a random slot machine into a highly controlled, professional artistic workflow. If you are serious about creating characters for client work or professional projects, learning structural control systems is an absolute necessity.
Fixing the Uncanny Valley Eyes and Teeth
While hands get most of the attention for being terribly deformed, AI faces can be just as problematic and unsettling. The most common issues are eyes pointing in completely different directions and teeth that look like a massive row of white piano keys. These facial errors instantly destroy the emotional connection a viewer has with the portrait.
To fix misaligned eyes, you have to understand how the system renders facial lighting. Often, the AI places catchlights (the tiny white reflections in the pupil) in random spots on each eye. This makes the character look cross-eyed or heavily distracted.
When you use the inpainting tool on eyes, you must ensure your prompt includes words like "symmetrical pupils, focused gaze, single catchlight." You should also keep your denoising strength relatively low. If you set the regeneration power too high, the system might generate an entirely new, mismatched eye that does not fit the character's face.
Teeth require a totally different approach because the AI tends to generate way too many of them in a small space. When the system tries to draw a smiling face from a distance, the pixels representing teeth become a blurred white line. To correct this, you need to prompt for specific dental features.
Using phrases like "natural smile, realistic dental structure, slight shadows between teeth" helps the algorithm understand that teeth are individual objects, not just a solid white block. If the character is far away from the camera, it is actually better to prompt for a "closed mouth smile." Trying to force the system to render perfect teeth on a face that is very small in the frame almost always results in a creepy, distorted mess.
The Power of Upscaling for Facial Details
Sometimes, the original generation actually has good anatomy, but it just lacks the pixel density to make the face look human. When an image is generated at a standard low resolution, small details like eyelashes, pores, and iris patterns are simply smudged together. This lack of detail makes the skin look like cheap plastic.
By running your image through a high-quality AI upscaler, you are giving the system permission to invent new, realistic details. The upscaler acts like a magnifying glass that intelligently fills in the missing human textures. It will automatically separate fused eyelashes, sharpen the edges of the lips, and add natural skin texture that makes the character look alive.
However, you must be very careful not to over-smooth the image during this process. Many built-in upscalers aggressively remove all noise, which completely destroys the natural human look and makes the person look like a video game model. Always look for upscalers that allow you to retain original skin texture or add a tiny bit of film grain back into the final shot.
By combining highly specific negative prompts, targeted inpainting, and careful upscaling, you take complete control back from the machine. You no longer have to settle for horrifying mutations or spend hours feeling frustrated by your own creative tools. You can finally enjoy the artistic process again, knowing you have the exact skills to fix any error the system throws your way.
Pro Strategies for Long-Term AI Image Mastery
Instead of just reacting to bad images, I highly recommend setting up a permanent workspace that prevents these errors from happening in the first place. Here is my quick pre-generation checklist that I run through every single day:
- Lock your negative prompts: Save your favorite negative keywords as a default template in your software so you never forget them.
- Keep physical references handy: Keep a folder of real human poses on your desktop for quick ControlNet uploads.
- Check your subject distance: Make sure you are not trying to generate a tiny, full-body character from far away if you want perfect facial details.
Building Custom Pose Libraries
One of the most effective secrets used by professional digital artists is creating a private library of proven hand poses. Instead of relying on random generations, you can store clean, well-rendered reference hands in a dedicated folder on your computer.
When a new prompt generates a mutated arm or distorted palm, you can immediately pull a clean skeletal frame from your library. You can use specialized tools like OpenCV pose estimation models to extract precise anatomical wireframes from these clean images.
This means you never have to roll the dice on basic anatomy ever again. You simply apply your saved pose structure to the new character generation, ensuring five perfect fingers every single time.
Mastering Vector Mask Blending
When you use masking tools to repaint a deformed face, hard selection edges will often leave visible seam lines around the head or jawline. This makes the final image look patched together and cheap.
To fix this, you should always set your masking brush to a soft, feathered edge with a medium radius. This soft border blends the newly rendered skin textures gradually into the original background lighting.
You can learn more about how pixel blending algorithms work by studying the official Hugging Face Stable Diffusion inpainting documentation. Understanding these underlying technical mechanics helps you choose the perfect brush softness for every situation.
If you notice lighting mismatches around the cheekbones after repainting, you should also review our guide on how to avoid lighting mistakes in AI art to keep ambient shadows natural.
Establishing a Fixed Seed Strategy
When you generate a face that is ninety percent perfect, changing your text prompt will normally alter the entire image structure. This happens because the random noise seed changes every time you hit the generate button.
To lock in a great facial structure, you must find and copy the exact seed number from your generation settings. Locking the seed tells the system to use the exact same starting pixel grid for your next attempt.
Once your seed is locked, you can make tiny adjustments to your prompt text without destroying the character's core facial identity. You can refine the eyes, smooth the teeth, or adjust the lips while keeping the same jaw shape and hair style.
Understanding this mathematical process becomes much easier when you read our deep breakdown on decoding generative AI prompt science. It completely demystifies how random pixel seeds build complex portraits.
Utilizing Hybrid Outpainting Workflows
Sometimes a deformed hand happens simply because the subject is framed too close to the edges of the image canvas. When the algorithm runs out of canvas space, it compresses the fingers together, creating horrifying mutations.
The smartest way to fix this issue is by expanding the canvas outward using outpainting techniques before attempting any hand repairs. Expanding the canvas gives the machine extra space to draw complete arms, wrists, and fingers naturally.
After you expand the canvas boundaries, you can review the official Midjourney prompting documentation to see how aspect ratio parameters influence subject framing. Giving your subject breathing room on the canvas dramatically reduces joint distortions.
Destructive Errors That Secretly Ruin Your Workflow
Fixing mutated art requires patience and precision. Unfortunately, many creators fall into predictable traps that actually make their visual problems much worse.
When you panic and try to fix things using the wrong methods, you burn through valuable creation credits and drain your mental energy. Recognizing these common pitfalls early will protect your peace of mind and keep your visual quality high.
Over-Prompting the Correction Mask
The single biggest mistake creators make during inpainting is pasting their entire original prompt into the mask correction box. When you flood the mask box with unnecessary words about the background, weather, or clothing, you confuse the focused renderer.
The small masked area only needs instructions about what should exist inside that specific tiny box. If you are fixing a mutated hand resting on a knee, your prompt should only describe the hand itself.
Adding extra words like "dramatic sunset background" into a tiny hand mask forces the algorithm to squeeze a whole sunset into a pair of knuckles. Keep your correction descriptions extremely short, direct, and focused strictly on the local body part.
If you struggle with structuring clean prompts, take a moment to learn the perfect text prompt formula for better overall generation control.
Setting Denoising Parameters Too High
When you repaint a distorted eye or crooked smile, you must set a value called denoising strength. This setting controls how much of the original bad image the system is allowed to destroy and rebuild.
Setting this slider to maximum strength causes the system to completely ignore the surrounding face. It will generate a brand-new eye that has totally different lighting, skin color, and camera angle than the rest of the portrait.
Setting the slider too low, however, leaves the original melted eye completely untouched. You must find the sweet spot between medium-low and medium-high strength so the system repairs the damage while respecting the surrounding skin tones.
Trial and error with small slider movements is always better than cranking values to maximum levels out of pure frustration.
Relying Entirely on Automated One-Click Tools
It is very tempting to download automated browser plugins that promise to "instantly fix hands" with a single click. While these quick tools sound amazing in marketing videos, they rarely deliver consistent professional results.
Automated tools use generic templates that do not understand the specific lighting or artistic style of your unique image. They often slap a flat, plastic-looking 3D model over your subject's arm, ruining the artistic mood entirely.
Relying on cheap shortcuts prevents you from building real skills that actually solve these problems long-term. Learning manual masking and skeletal placement gives you permanent creative control that automated plugins can never match.
If your goal is building a long-term artistic career, you should focus on learning how to master AI character consistency across full visual projects instead of taking lazy shortcuts.
Your Daily Action Plan for Flawless Art
Fixing deformed hands and distorted faces is not an impossible mystery. It is simply a practical technical skill that anyone can learn with a bit of structured practice.
When you combine clear negative prompts, soft masking brush edges, and skeletal pose controls, you stop being a victim of random machine glitches. You become a true digital director who guides the software with total confidence and clarity.
Every mutated finger or misaligned eye is simply a small puzzle waiting for the right tool. As you practice these correction steps, your speed will increase, your stress levels will drop, and your visual portfolio will look incredibly polished.
My own art improved dramatically the exact moment I stopped getting angry at bad generations and started viewing them as simple masking puzzles. I want you to remember that every great digital artist you follow online goes through the exact same mutated generations behind the scenes. You now have the exact blueprint to fix those errors, so take a deep breath, open your favorite generator, and start creating with full confidence today!
Clear Answers to Common AI Art Questions
Why do AI tools keep adding extra fingers to my characters?
Image generators do not actually understand math or human anatomy. They just match visual pixel patterns from their training data. Since hands are always moving and overlapping in real photos, the software gets deeply confused about where one finger ends and another starts.
Should I use inpainting or just regenerate the whole image?
You should definitely use inpainting. If ninety percent of your image looks amazing, throwing it away is a huge waste of your time and credits. Inpainting lets you fix just the bad hand or the weird eye while keeping the perfect background untouched.
How can I fix creepy AI eyes without messing up the face?
Select just the eyes with a soft-edged digital mask and run your inpainting tool at a very low strength (around 0.2 or 0.3). Tell the prompt exactly where the light is coming from so the new eyes match the original shadows perfectly.
Will negative prompts fix mutated hands every single time?
No, negative prompts are just a safety net. They massively reduce the chances of bad anatomy, but they are not a magic cure. For complex poses, you will still need to use structural tools like ControlNet to get perfect hands.
Reader Safety and Content Transparency Disclaimer
General Information Disclaimer: The information provided in this guide is for educational, creative, and informational purposes only. All techniques, software workflows, and prompting advice are intended to assist digital artists and enthusiasts in improving their personal or commercial media workflows.
Platform & Tool Independence: This content is independently written and maintained by DigitShopy. We are not directly affiliated with, endorsed by, or officially partnered with Midjourney, Stability AI, or any other specific software vendor mentioned. All product names, trademarks, and registered brands belong entirely to their respective owners.
Content & Safety Policy: We strictly adhere to Google AdSense program policies, as well as community standards set by major digital platforms including Facebook and Pinterest. This article contains no automated generation spam, deceptive visual manipulations, or unsafe digital downloads. Always verify software licenses and usage rights when working on commercial client projects.
THANK YOU