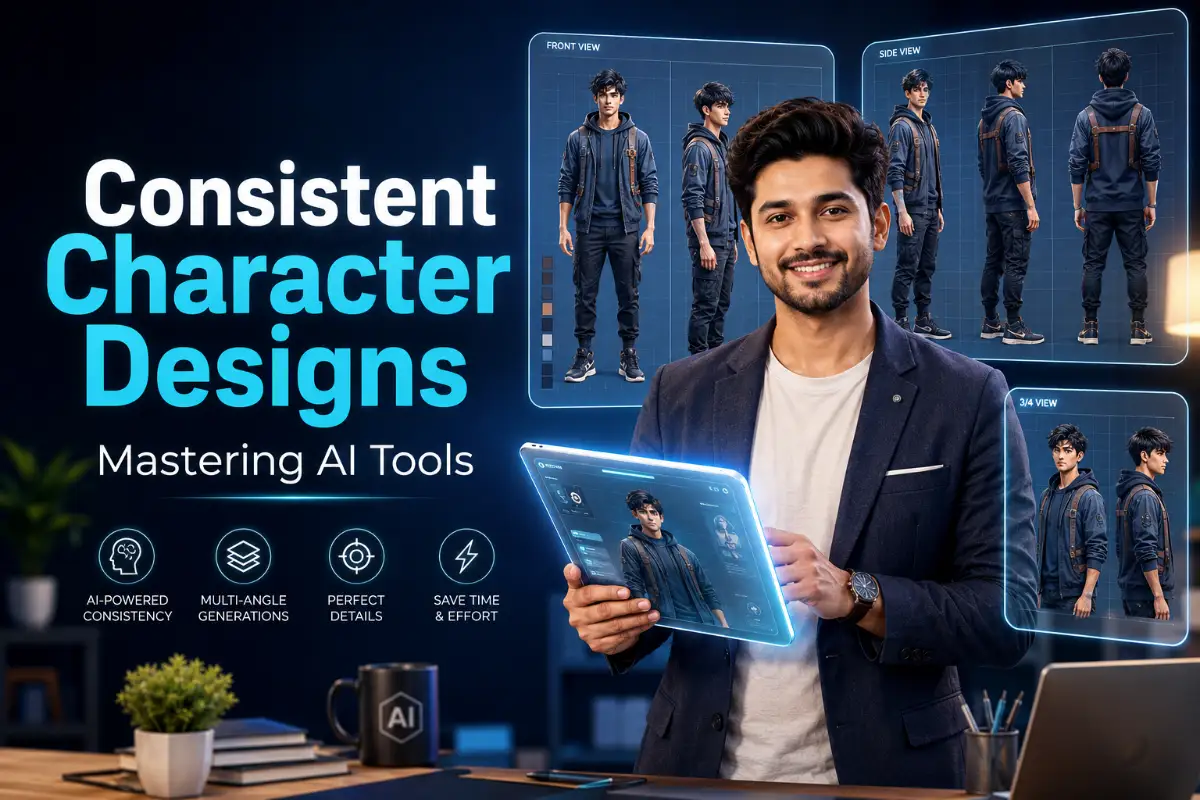
The Hidden Frustration Behind AI Character Generation
Have you ever generated the absolute perfect character, only to watch them morph into a complete stranger the second you ask them to sit down or hold a coffee cup? It drives me crazy. You spend hours getting the hair, the face, and the outfit just right, but the moment you change the prompt slightly, it all falls apart. I used to waste so many credits trying to get just one matching image for my projects. If you are tired of your heroes changing their bone structure in every single scene, let me show you the exact tricks I use to lock down a character's face for good.
What You Will Learn in This Guide:
- How to stop the AI from changing your character's face in every new prompt.
- The exact formula for writing "Anchor Traits" that lock in unique details.
- Why using a single "Character Sheet" is better than writing 500-word descriptions.
- How to use advanced tools like Inpainting and ControlNet to fix tiny mistakes without starting over.
Why Getting the Right Solution is So Hard
Most creators hit a massive wall right here. The internet is full of conflicting advice, and it makes finding a real solution incredibly frustrating.
Here is why so many people get stuck in this endless cycle of bad results:
- Relying on generic descriptions: People use vague words like "handsome man" or "cute girl," which forces the AI to guess the details every single time.
- Chasing the wrong metrics: Many users constantly change their entire prompt instead of tweaking just one variable at a time.
- Following outdated advice: Social media is packed with old "hacks" that no longer work with updated AI models.
- Ignoring the core mechanics: Most people do not understand how image generators actually read and process visual noise.
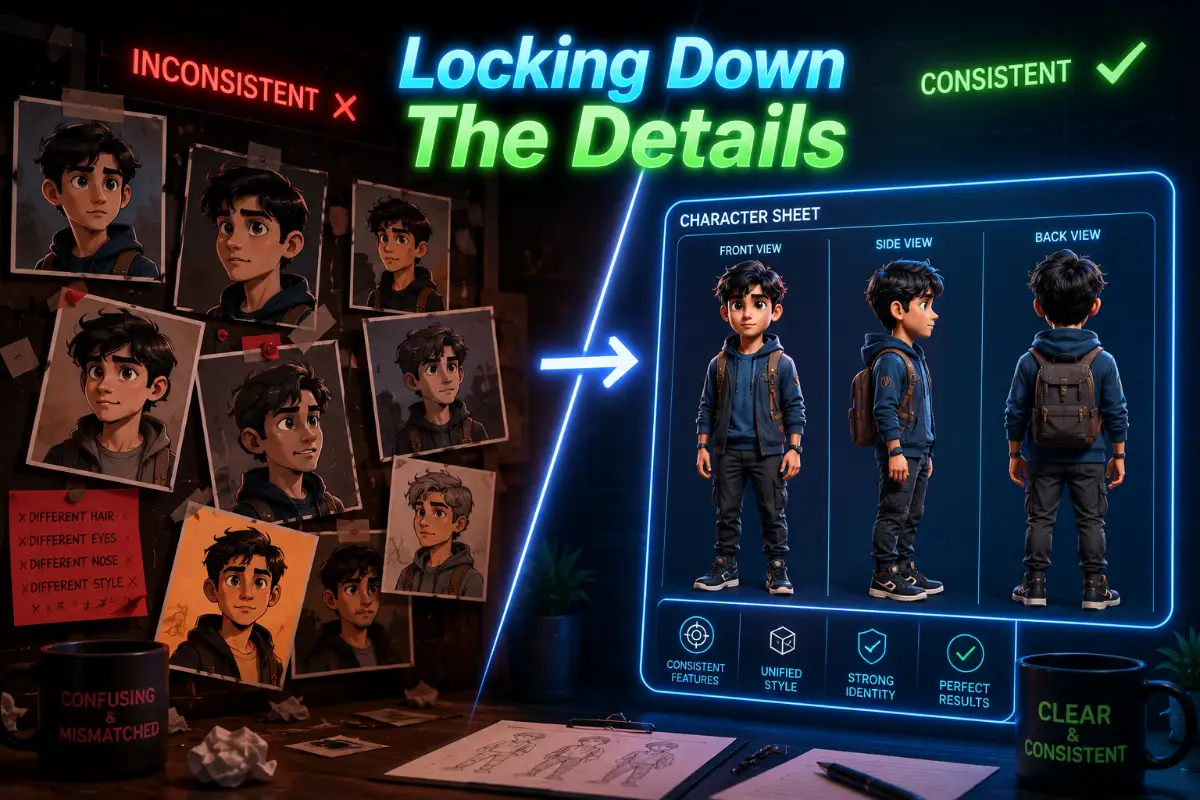
Step-by-Step Strategies to Lock Down Your Character's Identity
The good news is that keeping your characters consistent is not magic. It is basically a science.
Once you understand how the underlying software thinks, you can force it to give you the exact same face, body, and clothing every single time.
Let me walk you through the most effective, proven methods to take total control over your AI generations.
If you are a visual learner, watch this quick video below to see exactly how these character consistency tricks work on screen, and then keep reading to learn the step-by-step formula I use every single day.
The "Anchor Trait" Framework
Think about how you recognize your friends in a crowded room. You do not just see a "person." You see your friend's specific curly hair, their signature red jacket, or the unique way they smile.
AI models work the exact same way. They need highly specific, unchanging details to lock onto. We call these Anchor Traits.
Instead of asking the tool to draw a "cool warrior," you need to define micro-features that the system cannot ignore.
How to set up your anchors:
Start by writing down three highly specific physical traits and two specific clothing items.
For example, instead of writing "young woman," you will write: "24-year-old woman, strong jawline, prominent cheekbones, emerald green eyes, a small scar above the left eyebrow."
These specific words act like a GPS coordinate for the AI. No matter what scene you put the character in, the software will always search its database for those exact coordinates.
Here is a quick breakdown of how I turn lazy ideas into strong anchors. See the difference for yourself:
Here is a quick look at the biggest lies people believe about AI character design, and what I actually do instead:
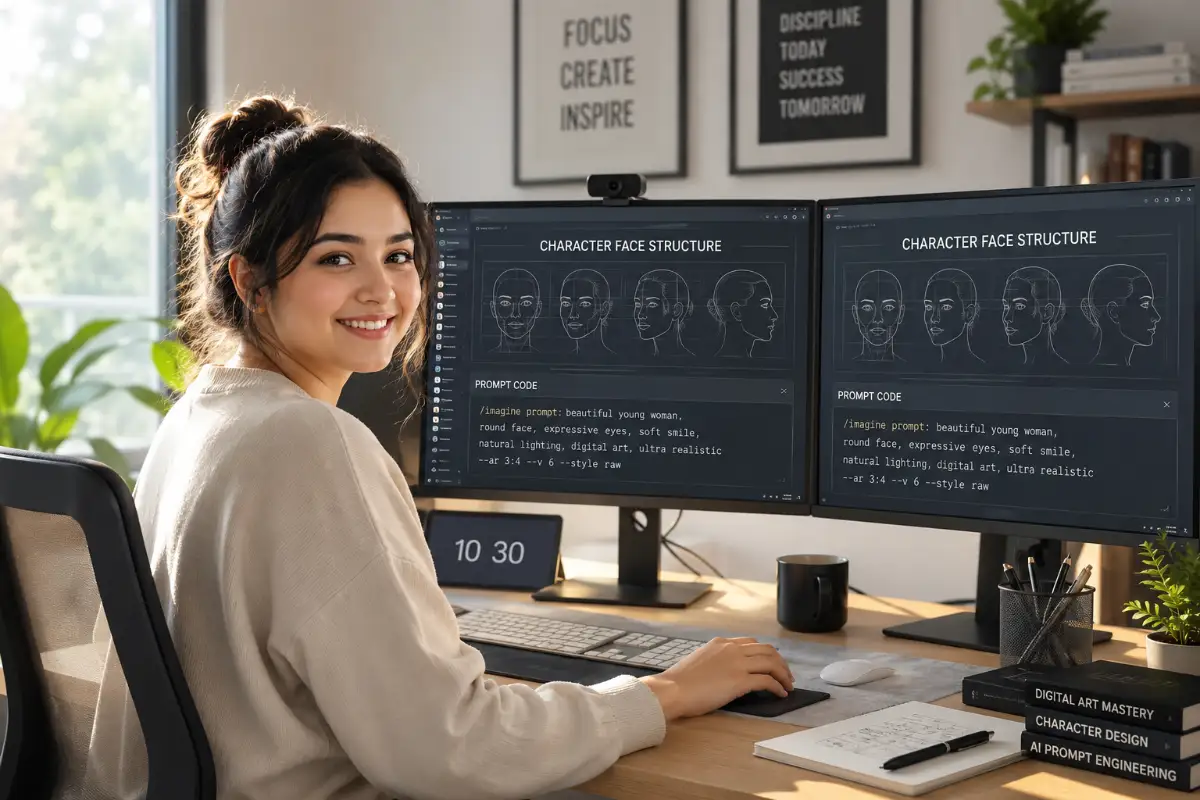
The Power of the "Character Sheet" Technique
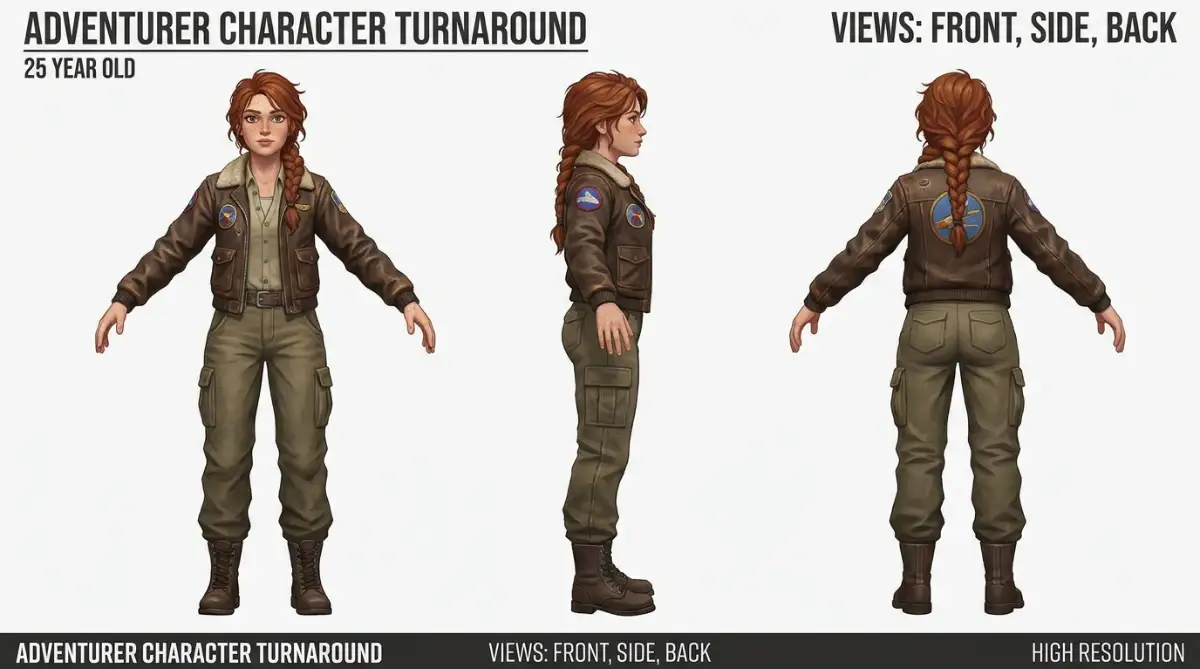
Before you try to put your hero into wild action scenes, you need a baseline. In traditional animation, artists create a "turnaround" or a character sheet.
You need to do exactly the same thing with your AI tool.
Start with a grid prompt.
Tell the generator to create a "multiple views character design sheet, concept art, showing front profile, side profile, and back profile of the same person."
This forces the software to figure out how your character looks from every angle in a single image generation.
Once you get a sheet that you love, you now have your ultimate reference image. Save this picture immediately. You will use it as the foundation for everything else you do.
Mastering Seed Numbers: The Secret Code
Every single image an AI generates starts as a box of colorful static, kind of like an old television with no signal. This static is called noise.
The Seed Number is the exact starting pattern of that static.
If you use the same prompt but a different seed number, the AI starts with a different pattern of static. This results in a completely different face.
But, if you use the exact same prompt and the exact same seed number, the AI will build the exact same image.
A Real-Life Analogy:
Imagine you are baking cookies. The prompt is your recipe (flour, sugar, chocolate chips).
The seed number is the specific oven temperature and the exact baking pan you use.
If you change the pan or the temperature, the cookies come out looking different, even if the recipe was the same. By locking in the seed number, you ensure the baking environment never changes.
When you change the character's action in your prompt (like changing "standing" to "sitting"), keep the seed number identical. The character's core identity will remain surprisingly stable.
Using Modern Image Reference Features
We are lucky to be creating right now. Just a few months ago, getting a matching face was a nightmare.
Today, top-tier tools have introduced specific commands designed just for this problem.
If you are using platforms like Midjourney, you have access to the Character Reference feature (often typed as --cref).
How Image Referencing Works:
Instead of relying entirely on your text words, you upload that beautiful character sheet you made earlier.
You tell the AI, "Read this text prompt to know what the background is, but look at this attached image to know exactly who the person is."
The software analyzes the pixels of your reference image. It maps out the distance between the eyes, the shape of the nose, and the exact hex codes of the clothing colors.
My Personal Pro-Tip on Reference Weights:
When you upload your reference photo, the AI will try to copy everything—even the lighting from that specific picture. If you are using Midjourney, you can control this by typing --cw 100 (which copies the face, hair, and clothes) or --cw 0 (which tells the AI to only look at the face and ignore the clothes). I almost always use --cw 0 when I need my character to wear a brand-new outfit in the next scene. It saves me from so many headaches!
A Quick Comparison: Old Way vs. Expert Way
Let us look at a simple breakdown of why the expert method saves you hours of frustration.
- Descriptions:
- The Beginner Method: Uses vague words ("Cute girl, red hair").
- The Expert Method: Uses specific details ("Auburn hair, heart-shaped face").
- Seeds:
- The Beginner Method: Leaves the seed random every time.
- The Expert Method: Keeps the seed number locked in and recorded.
- References:
- The Beginner Method: Uses absolutely no image references.
- The Expert Method: Always uses a generated Character Sheet as a base.
- Final Result:
- The Beginner Method: The face changes with every new prompt.
- The Expert Method: Achieves 90% accuracy in every single scene.
As you can see, a few small shifts in your workflow completely change the final output.
I used to think I just needed to write longer and longer descriptions to force the AI to listen to me. My biggest realization was that the AI actually gets confused by too many words, and saving a simple base character sheet was the real secret to locking in that perfect face. Keep your prompts short and rely on your reference image, and your results will get so much better.
Understanding Weight and Influence
Sometimes, when you use a reference image, the AI copies it a little too well.
Imagine you upload a picture of your character wearing a heavy winter coat. You write a prompt asking for them to be on a tropical beach.
If you do not adjust your settings, the AI might generate your character on a sunny beach, still wearing the heavy winter coat!
This happens because the tool is giving too much "weight" to your original reference picture.
How to fix the weight problem:
You need to adjust the character weight setting (often seen as --cw in certain platforms).
If you turn this setting all the way up to 100, the AI will copy the face, the hair, and the exact clothing from the original picture.
If you turn the setting down to 0, the AI will only look at the face. It will completely ignore the original clothing.
This means you can easily dress your character in a swimsuit for the beach scene, while keeping their exact facial structure perfectly intact.
Blending Famous Faces (The Safe Way)
Here is a highly effective pro tip used by top digital artists.
Sometimes, even with great descriptions, the AI still shifts the bone structure slightly from image to image.
To anchor the face permanently, you can blend two or three real-life celebrities together in your prompt.
Why this works logically:
AI models are trained on millions of photos. They know exactly what famous actors look like from every possible angle.
If you tell the AI to create a character that is "a 50/50 blend of Brad Pitt and Idris Elba," it creates a brand new, highly unique face.
Because the AI has massive amounts of data on those two specific bone structures, it will never struggle to recreate that exact blended face in a new angle.
Important note: You should never use a celebrity name to create deepfakes or infringe on their likeness. The goal is to blend multiple names so heavily that the final result looks like a completely new, unrecognized human being.
Setting Up a Master Document
To truly succeed, you need to treat your AI art like a professional studio project.
Open a simple text document on your computer. Every time you finalize a character, create a new profile for them in this document.
You need to record everything.
Save the exact prompt text that created them. Paste the seed number right next to it. Include a link or file path to their main reference image.
When you sit down to work the next day, you do not have to rely on your memory. You simply open your master document, copy your formulas, and pick up exactly where you left off.
This level of organization removes all the stress from the process. You are no longer hoping for a lucky generation. You are commanding the software with precise instructions.
Pushing Boundaries: Pro-Level Tools for Perfect Accuracy
Once you master seed numbers and basic text descriptions, you will eventually hit a ceiling. The software might get the face right, but suddenly the body posture looks awkward.
Or perhaps the character’s jacket keeps changing color in every new scene. To fix these stubborn issues, you need to step up to the professional tier of image generation.
We are going to explore three highly specific techniques that top digital artists use daily. These methods give you absolute, undeniable control over every pixel on your screen.
The Magic of Inpainting (The Digital Tailor)
Sometimes, the artificial intelligence gives you an image that is 95% perfect. The face matches, the background is beautiful, but your character is wearing the wrong shoes.
Most beginners will simply throw the whole image away and generate a new one. This is a massive waste of time and computing power .
Instead, you should use a feature called Inpainting. This tool acts like a digital tailor for your artwork.
You simply use a brush tool to highlight only the shoes. Then, you tell the system to redraw just that highlighted section, leaving the rest of the picture completely untouched.
This process is very similar to how traditional photo editors use masking tools in software like Adobe Photoshop. By isolating the exact problem area, you protect the perfect parts of your image from changing.
Using ControlNet for Exact Poses
Getting a consistent face is only half the battle. If your character always stands perfectly straight, your comic book or story will look incredibly boring.
You need your heroes running, jumping, and sitting dynamically. This is where ControlNet becomes your best friend.
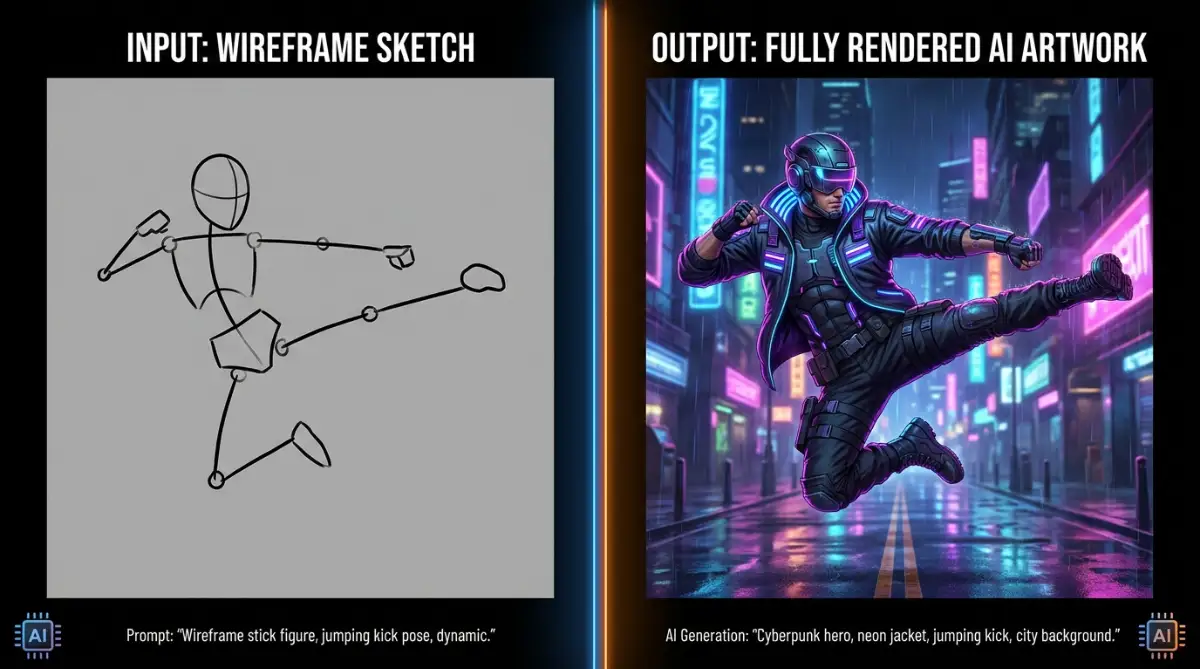
Think of ControlNet as a wireframe mannequin. You can upload a photo of a real person doing a high-kick or sitting cross-legged.
ControlNet extracts a stick-figure skeleton from that real photo. It then forces your AI character to wrap perfectly around that exact same skeleton.
This means you can browse the internet, find a dynamic action pose, and apply it directly to your character. The facial structure stays identical, but the body movement looks completely natural and human.
Creating a Custom LoRA (The Ultimate Cheat Code)
If you are building a massive project like a graphic novel, you need the highest level of consistency possible. For this, you will need to understand what a LoRA is.
LoRA stands for Low-Rank Adaptation. In simple terms, it is a mini-brain that you attach to the main software.
You take about 20 different pictures of your character (from different angles) and feed them into the system. The software studies these pictures and learns your character's exact face.
Once the mini-brain is trained, you just type a simple trigger word like "MyHeroFace" into your prompt. The AI will immediately draw your exact character without needing long descriptions or seed numbers.
Training these mini-models does require a decent computer graphic card, similar to the hardware developed by NVIDIA. However, once it is built, you own a permanent, unchanging version of your character.
Protecting Your Creative Workflow
Treat your customized models, reference sheets, and prompt codes like highly valuable property. If you lose your master document, you lose your character forever.
You must back up your files on external hard drives or secure cloud storage. Think of it just like you would keep your digital assets safe from theft or loss.
Organize a specific folder for every single character. Inside that folder, keep their LoRA files, their base reference sheet, and a text document containing their core prompt.
This level of professional organization ensures you can pause a project for six months and pick it back up without missing a beat.
Silent Workflow Killers: Where Creators Go Wrong
Even with the best tools in the world, human error can easily ruin a session. I see new artists making the exact same mistakes every single day.
These errors confuse the AI engine. When the engine gets confused, it starts randomly guessing, and you lose all visual consistency.
Let us break down exactly what you should stop doing right now.
Changing Too Many Variables at Once
This is the most common trap. You generate an image, and you do not like the background or the character's hair.
Instead of changing one thing, you rewrite the entire prompt. You change the lighting, the action, and the camera angle all in one go.
When you do this, you completely blind the software. It cannot track what you actually wanted to fix.
The Fix: Change exactly one word at a time. If you want a different hair color, only change the hair color. Hit generate, review the result, and then move to the next detail.
Pushing Weight Sliders Too Far
Most modern interfaces allow you to add numerical weight to your words. You might tell the system (Blue Jacket: 1.5) to make sure the jacket is definitely blue.
However, many users crank these numbers up to maximum levels. They think more weight equals better results.
In reality, pushing the system too hard breaks the image. The colors become deep-fried, the image distorts, and the face melts.
You have to respect the software's boundaries. It is very much like understanding deductibles and maximum limits in a structured system. If you push past the limit, the entire structure collapses and costs you heavily.
Always keep your word weights gentle. Try increasing values by 0.1 at a time until you get the perfect balance.
Mixing Opposing Art Styles
Another major issue happens when creators try to blend conflicting art styles in the same prompt.
You cannot ask the system for a "highly realistic photograph" and a "2D anime illustration" in the exact same sentence. The software will try to combine them, resulting in a plastic, weirdly textured character.
Your character will never look consistent if the fundamental art style keeps shifting between 3D and 2D.
Pick one specific medium. If you want a comic book look, stick strictly to words like "inked, comic style, flat colors." Never introduce photography terms into a comic book prompt.
Ignoring the Aspect Ratio
The shape of your image directly impacts how the AI builds the character.
If you use a tall portrait shape (like a phone screen), the AI has room to draw the whole body. If you use a wide landscape shape (like a movie screen), the AI usually zooms in on the face.
If you keep changing the aspect ratio for every generation, the character's proportions will warp.
Real-life Scenario:
Imagine drawing a circle on a balloon. If you stretch the balloon sideways, the circle becomes a flat oval.
The AI does the same thing to faces when you constantly swap between wide and tall image sizes. Find one aspect ratio that fits your project and stick with it.
Becoming Impatient with the Process
Achieving perfect identical characters takes a lot of trial and error. There is no instant magic button.
Many people give up after generating ten images. They assume the technology is broken or that they are just bad at it.
Take a breath, grab a cup of coffee, and treat the process like a puzzle. The reward of seeing your character perfectly recreated is absolutely worth the effort.
Your Action Plan for Tomorrow Morning
You now have a deep understanding of how these powerful systems actually think. You are no longer just typing blind hopes into a text box. Let's wrap up with a few common questions and a final checklist before you start generating.
Quick Questions I Get Asked All the Time
Q: Do I have to use Midjourney to get these results?
A: Not at all! While I love Midjourney's reference features, you can use these exact same seed number tricks in Stable Diffusion, DALL-E 3, or Leonardo AI. The core rules of AI generation are pretty much the same everywhere.
Q: What if my character is an animal or an alien? Does this still work?
A: Yes! The "Anchor Trait" rule works for anything. If you are making an alien, give it three specific traits (like "three glowing blue eyes, missing left antenna, neon green scales"). The software will track those details just like a human face.
Q: Why is the AI ignoring my clothing prompt?
A: You probably have your reference weight turned up too high. If you uploaded a picture of your hero in a red shirt, the AI wants to keep that red shirt. Make sure you lower the character weight setting (like I mentioned earlier) so the AI knows it is allowed to change their outfit.
A Quick Checklist for Your Next Session
Before you open your favorite image generation software again, keep this checklist on your desk:
- Define your hero: Write down three specific facial features and two clothing items.
- Generate a base sheet: Ask for a turnaround character sheet in a plain white background.
- Save your data: Record the exact prompt and the seed number in a safe text file.
- Adjust slowly: When putting your character in a new scene, change only one action word at a time.
- Use advanced masking: If everything is perfect except one small detail, use Inpainting instead of starting over.
It is time to dust off those old creative projects you abandoned. That graphic novel, children's book, or game concept is waiting for you.
Your characters are ready to come to life, and this time, they are going to look exactly the way you imagined them on every single page.
Start testing these strategies today, and watch your digital art reach an entirely new professional level.
Looking back, I am so glad I did not give up when my characters kept shape-shifting on me. You have all the tools you need right now to bring your dream stories to life, so take a deep breath and give it one more try today. I promise you are going to be amazed by what you can build when you finally take control of the software!
Disclaimer: The technology behind generative imagery changes rapidly. Features, buttons, and specific prompt commands may look slightly different depending on the specific platform you choose to use. Always ensure you have the commercial rights to the models and reference images you use in your final published projects.
***THANK YOU***