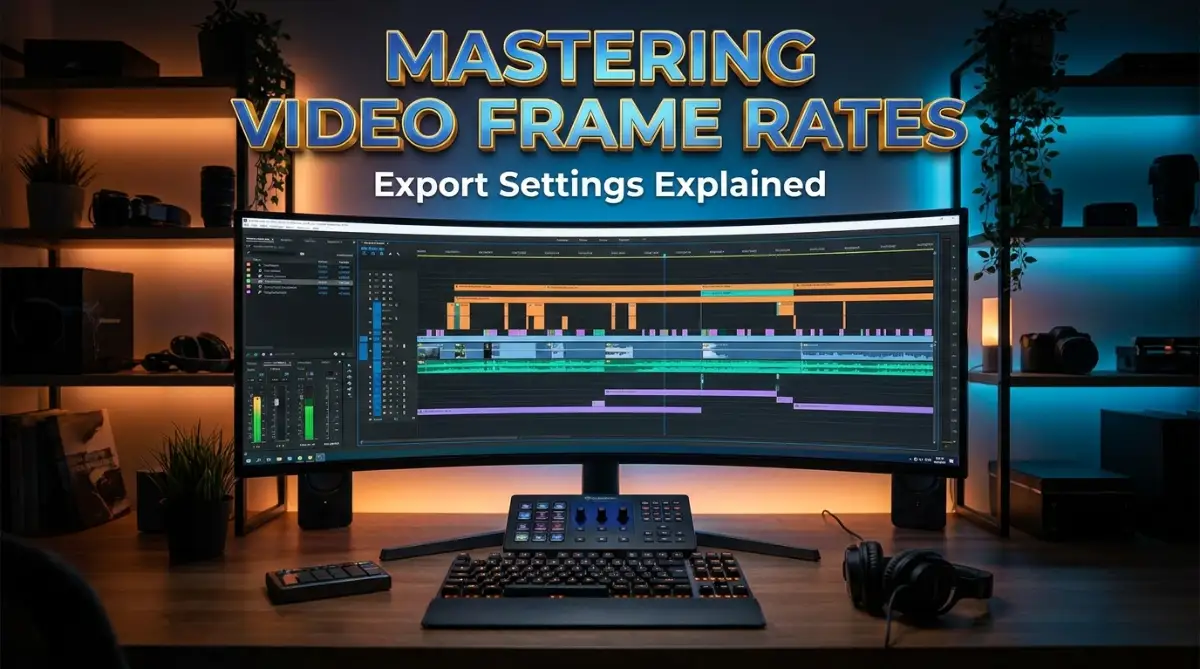
The Frustrating Reality Behind Choppy Video Playback
Have you ever spent hours editing what you thought was a killer video, only to hit play and see a choppy, stuttering mess? Yeah, it sucks. You do not need to be a Hollywood director to fix it, though. Most of the time, the problem is not your camera being broken—it is just a few mismatched settings in your editing software. Let us cut through the confusing tech jargon, figure out why your video is skipping, and fix your playback issues right now.
Quick Fixes for Smooth Video (TL;DR)
- Match your timeline: Make sure your editing software's frame rate matches the exact frame rate of your raw camera footage.
- Do the math: Always double your frame rate to find your perfect shutter speed (e.g., 24 FPS = 1/50th shutter).
- Watch your bitrate: Give your video enough data allowance to stay sharp, but keep it realistic for web uploads (10-15 Mbps for 1080p).
- Sync the audio: Never mismatch your audio sample rates (keep it at 48,000 Hz) to avoid out-of-sync voiceovers.
The Hidden Mechanics Behind Smooth Motion Speed
Let us break down exactly what happens inside your camera when you hit the record button. Video is not actually a continuous moving image at all.
It is just a very fast sequence of still photographs played back right after another. Think of those little paper flipbooks you used to play with as a kid.

If you flip the pages slowly, the drawing looks jerky and disconnected. But if you flip the pages really fast, your brain gets tricked into seeing smooth, fluid motion.
This is the exact same illusion that your video camera uses. The number of individual pictures your camera takes in a single second is your frame rate.
We measure this speed in Frames Per Second, commonly known as FPS. If you understand this one simple concept, you hold the key to perfectly smooth playback.
Myth vs Reality: Higher Numbers Are Not Always Better
A lot of beginners assume that choosing the highest possible number on their camera makes the video better. This is a very common trap that completely ruins the mood of your project.
The Myth: Shooting everything in 60 or 120 frames per second makes your video look more professional.
The Reality: High numbers create a hyper-realistic, soap-opera effect that actually kills the cinematic feeling of normal videos.
You should only choose a specific speed based on the story you want to tell. Every single number gives your final project a completely different emotional feeling.
For example, traditional Hollywood movies have used a very specific speed for nearly a century. They use 24 frames per second because it naturally introduces a slight motion blur.
This specific blur closely mimics how the human eye naturally perceives movement in real life. When you watch a movie at 24 FPS, your brain automatically associates that subtle blur with high-end cinema.
Why the Internet Loves 30 Frames Per Second
If 24 is for movies, you might wonder why your smartphone defaults to a different number. Most television broadcasts, news channels, and standard YouTube videos run at 30 frames per second.
This speed provides a slightly cleaner, sharper image with less motion blur. It feels very realistic, making it perfect for documentaries or regular talking-head videos.
When you want your audience to feel like they are sitting right in the room with you, 30 is the way to go. It offers the perfect middle ground between dreamy movie blur and aggressive sharpness.
Many daily vloggers strictly use 30 FPS because it accurately captures natural everyday lighting. It also handles quick camera movements slightly better than the cinematic 24 speed.
Watch This Breakdown Before Adjusting Your Camera Settings
If you want to visually see the exact difference between these motion speeds side-by-side, this visual demonstration explains it perfectly.
When Should You Actually Use 60 Frames Per Second?
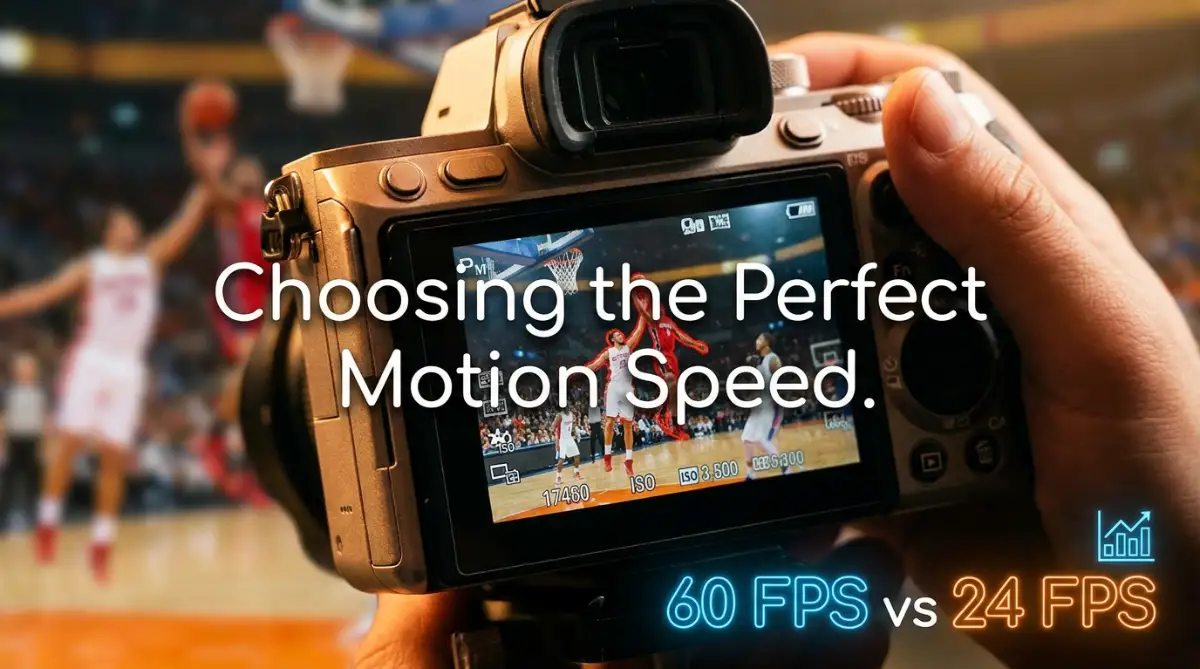
Now we reach the territory of sports, video games, and slow-motion effects. When you record at 60 frames per second, your camera is capturing double the amount of standard information.
This creates extremely crisp, hyper-smooth motion that looks fantastic for fast-paced action. If you are filming a basketball game or a fast car, this high speed prevents the footage from looking like a blurry mess.
However, playing back 60 FPS footage in real-time creates a very specific "live TV" look. Many people find this look slightly unnatural for regular storytelling because it feels almost too real.
The real secret superpower of 60 FPS is using it for slow motion. Because you have captured 60 individual pictures in one second, you can easily stretch them out.
If you put a 60-speed clip onto a 24-speed timeline and slow it down, you get buttery smooth slow motion. This is the exact trick travel videographers use to make their drone shots look so majestic.
The Ultimate Framing Breakdown
To make things incredibly easy to remember, here is a quick visual guide for choosing your settings.
The Golden Rule of Shutter Speed Compatibility
You cannot talk about capturing motion without talking about how light enters your camera lens. The speed at which your camera takes pictures must perfectly match the speed of your camera shutter.
This concept is known as the 180-degree shutter rule, and it prevents your videos from looking weirdly robotic. The math behind this rule is actually incredibly simple and takes two seconds to calculate.
You always want your camera shutter speed to be exactly double your frame rate. For example, if you are shooting a cinematic short film at 24 FPS, your shutter speed should be set to 1/50th of a second.
If you are shooting a fast-paced sports highlight reel at 60 FPS, your shutter needs to be 1/120th of a second. Following this simple mathematical rule guarantees that your motion blur looks completely natural to the human eye.
Quick Cheat Sheet: The 180-Degree Rule in Action
To make your life easier, memorize this quick math. Here is exactly what your shutter speed should look like based on your frame rate:
When you ignore this rule, your footage will either look aggressively jittery or strangely smeared like wet paint. I used to ignore this rule completely because I thought the camera would just figure it out automatically. My early videos ended up looking like a cheap surveillance camera because my shutter was set way too high for my timeline. Always take five seconds to double-check this math before you press record.
Why Timeline Mismatches Destroy Your Hard Work
One of the biggest mistakes beginners make happens before they even start cutting their clips. They drag a mixture of different video speeds into their editing software without checking the project settings.
Your editing timeline acts as the master container for your entire project. If your timeline container is set to 24, but you drop a 30-speed clip into it, the software gets deeply confused.
The computer is forced to mathematically delete or skip random pictures to make the math fit. This forced skipping creates a horrible visual stutter that completely ruins your smooth camera movements.
Always decide what your final output speed will be before you open your editing software. If you want a cinematic look, set the master timeline to 24 right at the start.
Then, you can properly manipulate your faster clips into slow motion to match that master container. Keeping everything mathematically aligned is the true secret to professional-looking content.
Decoding the Mysteries of Export Settings
You click the export button, and suddenly you face a giant menu of confusing drop-down boxes. If you choose the wrong options here, your beautifully crisp footage will turn into a pixelated, blocky mess.
The exporting process is essentially your computer crushing down giant video files into a manageable size. The goal is to make the file small enough to upload online, while keeping the visual quality as high as possible.
To do this successfully, you need to understand three main concepts: Resolution, Bitrate, and Codecs.
Resolution: The Size of Your Canvas
Resolution simply refers to the physical dimensions of your video on a screen. It tells the computer exactly how many tiny squares of color, called pixels, are needed to build your image.
The most common starting point today is Standard High Definition, commonly referred to as 1080p. A 1080p video uses just over two million tiny color squares to display your footage.
This resolution looks fantastic on smartphones, tablets, and most computer monitors. However, the internet has largely moved toward an even higher standard called 4K resolution.
A 4K video packs over eight million individual color squares into the exact same screen space. This massive increase in detail makes everything look significantly sharper and more lifelike.
Even if you only plan to upload a 1080p video, shooting your original clips in 4K gives you a huge advantage. It allows you to zoom in and crop your footage during the editing process without losing any crispness.
When you finally export your video, always make sure the output resolution perfectly matches your original timeline resolution. If you stretch a small 1080p timeline into a massive 4K export, the computer will just guess the missing colors, leaving you with a soft, fuzzy mess.
The Heavyweight Champion: Understanding Video Bitrate
If you only remember one thing from this entire guide, let it be the power of bitrate. Bitrate is the absolute most important factor that determines if your final video looks sharp or blurry.
You can think of bitrate as the amount of raw data your computer is allowed to use every single second. We measure this data allowance in Megabits per second, often displayed as Mbps.
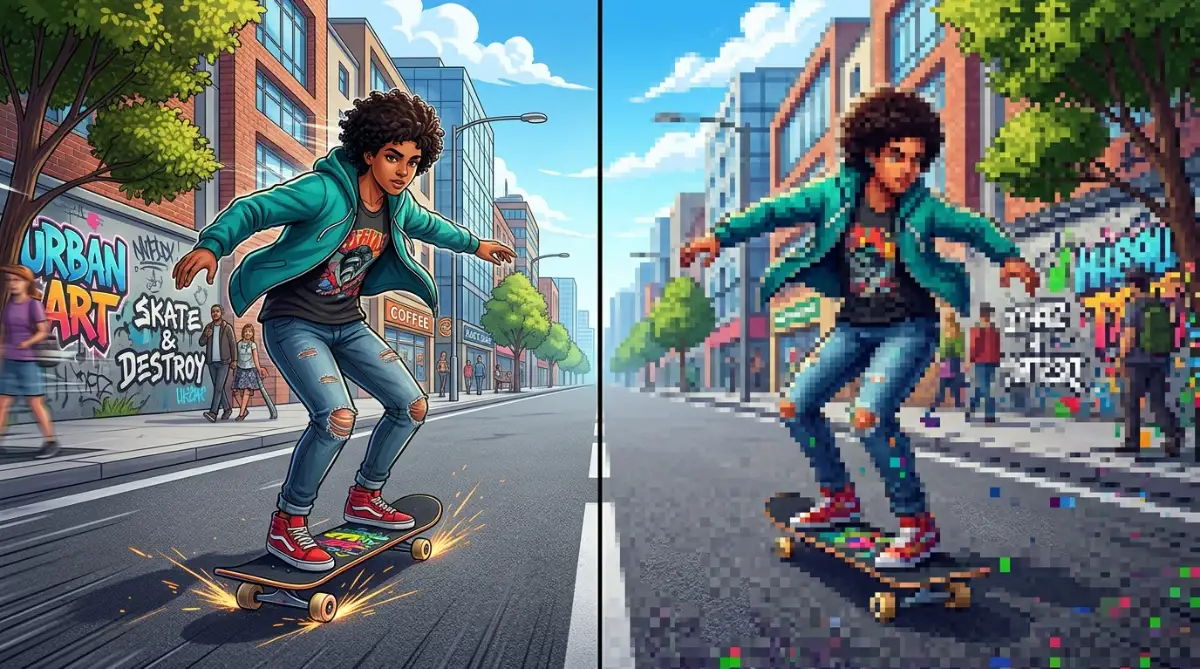
If you give your video a very low data allowance, the computer has to throw away fine details to save space. This is exactly why dark shadows in bad videos look like large, ugly gray squares.
When there is a lot of fast movement on screen, like confetti falling or water splashing, the computer needs a massive data allowance to draw every moving piece accurately.
If the bitrate is too low during a fast scene, the entire screen will instantly turn into a pixelated soup.
Finding the Sweet Spot for Online Uploads
So, how much data allowance do you actually need? It completely depends on where your video is going to live.
Platforms like YouTube and Facebook severely compress your videos the moment you upload them. To survive this harsh compression, you need to give them a very high-quality file to start with.
If you want to completely remove the guesswork from your export settings, I highly recommend checking out Google's Official Recommended Upload Encoding Settings for YouTube. Following their exact guidelines for bitrates and color spaces ensures your hard work survives their harsh compression algorithms.
For a standard 1080p video playing at a normal 24 or 30 speed, a bitrate of 10 to 15 Mbps is usually perfect. This provides enough data to keep things sharp without making the file ridiculously massive.
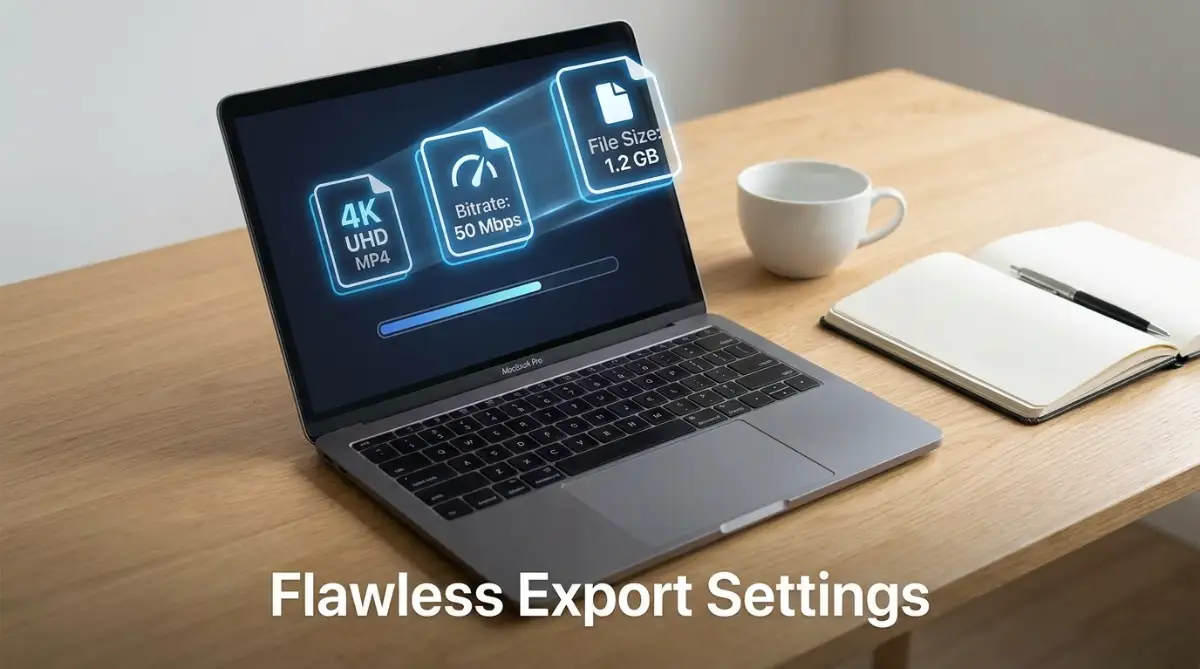
If you are exporting a giant 4K video, you need significantly more data to fill all those extra pixels. A healthy bitrate for 4K footage generally sits between 40 and 60 Mbps.
Pro-Tip: Don't Feed Social Media Too Much Data
Myth: Exporting at 100 Mbps will make your Instagram Reel look amazing.
Fact: Platforms like Instagram and TikTok cap their bitrate around 15 Mbps. If you upload a massive 100 Mbps file, their servers will aggressively crush your video, making it look much worse than if you just exported it at 15 Mbps in the first place. Work with the platform, not against it!
Many editing programs offer a feature called Variable Bitrate, or VBR. This incredibly smart setting tells the computer to only use high data allowances during fast-moving action scenes.
During quiet, still moments like a simple interview, VBR lowers the data usage to save storage space on your hard drive. Using VBR with two passes (VBR 2-Pass) takes slightly longer to export, but it always guarantees the absolute best visual quality possible.
Pushing Your Render Quality to the Absolute Limit
Now that you understand exactly how data allowances work, we need to talk about the actual packaging of your video. This brings us to the mysterious world of video codecs, which often scares beginners away completely.
You can think of a codec as an incredibly smart digital packing system for your computer. When you pack a suitcase for a holiday, you fold your clothes tightly so more items fit inside.
A video codec does the exact same thing with all those millions of colored pixels on your timeline. It magically shrinks down massive amounts of digital information into a tiny, easily transportable file size.
Without a good packing system, a simple five-minute video could take up half of your entire computer hard drive. Learning how to choose the right packing method is what separates amateurs from professional creators.
For the vast majority of everyday projects, you will want to use a universal packing system called H.264. This specific format is recognized by literally every single phone, television, and social media platform on the planet.
However, if you are shooting massive 4K files, you might want to look into its younger brother, the H.265 codec. The H.265 system acts like a vacuum-sealed storage bag, compressing the exact same quality into a much smaller space.
By taking the time to understand modern web media formats, you can save yourself hours of upload time. This tiny switch in your settings can completely transform how quickly you deliver projects to your clients or audience.
The Hidden Magic of Hardware Acceleration
If you have ever sat staring at a rendering progress bar for three hours, this next tip will change your life. Your computer actually has two different brains that it can use to process your final project.
The first brain is the main processor, which is great at handling normal tasks like web browsing and typing documents. The second brain is your graphics card, which was specifically designed to handle heavy visual mathematics.
Many editing programs default to using the main processor to build your final video file. This is like asking a normal sedan to tow a massive shipping container across the country.
You need to dive into your export preferences and physically turn on hardware acceleration. This simple switch forces the software to use your dedicated graphics card to pack up the video.
Turning this feature on can instantly cut your waiting time from several hours down to just a few minutes. It is a massive boost in productivity, especially when you are using heavy creative software tools on a daily basis.
Mastering Color Depth for Professional Results
Another secret that high-end creators use is paying close attention to their color bit depth during the final render. Standard video is usually recorded in 8-bit color, which gives you roughly sixteen million different shades to play with.
While that sounds like a massive number, it actually struggles when displaying smooth gradients, like a clear blue sky. If you export a bright sky in 8-bit, you might see ugly, jagged bands of color instead of a smooth transition.
This banding effect is very similar to why your AI images look blurry and how to fix them fast when they lack proper resolution depth. To fix this sky banding, you need to bump your export settings up to a 10-bit color space.
A 10-bit file opens up over a billion different color shades, making those sky gradients look flawlessly smooth. Apple actually has a fantastic breakdown on how their ProRes codecs handle high color depth if you want to see the math behind it.
Even if you shot your original footage in 8-bit, exporting at a higher depth can sometimes prevent the editing software from adding extra compression artifacts. Just be aware that 10-bit files will be slightly heavier to store on your external drives.
Silent Quality Killers You Are Probably Ignoring
Even after learning all the correct settings, it is incredibly easy to accidentally ruin your own project. One of the most heartbreaking mistakes I see is something called the "double compression trap."
People will carefully edit an amazing travel film, but then export it with a very low data allowance to save space. They upload this already-compressed file to a platform like YouTube or Instagram.
These social platforms run their own aggressive compression systems to save space on their company servers. So, the platform takes your already-squeezed video and violently squeezes it a second time.
The end result looks like a terrible, blocky video from the early two-thousands. To survive platform compression, you must always give them a file that is slightly larger and richer than you think they need.
You need to feed the algorithm enough high-quality data so that when they compress it, the core visual details remain intact.
The Nightmare of Mismatched Audio Rates
Another completely silent killer has absolutely nothing to do with how your video looks. Countless creators spend hours perfecting their visual timeline but completely ignore their audio export settings.
Your audio has its own specific speed limit, known as the sample rate. If your original microphone recorded the audio at 48,000 Hertz, your final export must match that exact number.
If you accidentally tell the software to export the audio at 44,100 Hertz, disaster strikes. Slowly, over the course of a ten-minute video, your voice will completely fall out of sync with your lips.
By the end of the video, it looks like a badly dubbed foreign movie. This happens because the computer is mathematically skipping tiny slices of sound to force the numbers to fit.
Always double-check your audio tab before hitting the final render button. This rule applies to literally any creative field. Matching your inputs to your outputs correctly is the exact same logic you use when writing precise image prompts to get consistent AI results.
If things get confusing, you can always review the international broadcast audio standards to see exactly what professional television stations use.
Over-Sharpening and Aggressive Contrast
Sometimes, in an effort to make a video pop, people push their contrast and sharpness sliders way too far. They do this right before the final export, thinking it will make the footage look more expensive.
What actually happens is that the artificial sharpness creates weird glowing edges around people and objects. It creates strange digital glitches that completely distract the viewer from your actual story.
This type of aggressive editing mistake creates unnatural visual shapes. It is actually very similar to the weird glitches you see in generative art, which is why fixing those deformed AI hands and faces follows a very similar logic of keeping things looking natural. You want your video to look like real life, not like a heavily filtered graphic novel.
Good lighting while recording will always look infinitely better than artificial sharpness added during the final render. If you want to improve the depth of your shots, learn how to position your lamps and windows correctly. The rules of real-world video lighting are exactly the same as the ones you use when trying to avoid bad lighting mistakes in AI art. Proper natural lighting requires far less data compression from your computer, leaving you with a cleaner final file.
Ignoring the Final Playback Check
The absolute worst mistake you can make is blindly trusting the computer to do its job perfectly. So many people will render a massive project, immediately upload it to the internet, and go straight to sleep.
They wake up the next morning to angry comments saying that the screen goes completely black at the three-minute mark. Computers sometimes glitch out during the heavy mathematical process of rendering a file.
Sometimes a random frame gets dropped, or a transition fails to load correctly in the final MP4. You must build a habit of physically watching your freshly exported file from beginning to end before sharing it.
I know you are probably sick of watching your own video by the time the edit is done. But taking those extra ten minutes to verify the file can save your entire professional reputation.
Once you confirm the exported file is flawless, then you can confidently hit the publish button. Building this kind of disciplined workflow translates to perfectly consistent video production, just like it helps when you are trying to maintain character consistency in AI generation.
Your Action Plan for Flawless Video Creation
We have covered a massive amount of technical ground today, from motion physics to digital data packaging. But none of these numbers or settings matter if you do not actively apply them to your very next project.
The secret to becoming a better creator is not memorizing every single technical manual on the internet. It is about building a slow, steady habit of checking your camera and software settings before you start working.
Make a physical checklist on a sticky note and put it right next to your computer monitor. Before you shoot, check that your camera speed matches the exact story you want to tell.
Check that your shutter speed is correctly doubled to give you that buttery, natural motion blur. This is not just random advice; scientific studies on human visual perception prove that correct motion blur keeps audiences engaged longer.
The Next Steps for Your Creative Journey
When you finally sit down to edit, always make sure your master timeline reflects your original camera settings. Do not mix and match random frame rates unless you are specifically planning to create a slow-motion effect.
When it is time to export, treat your bitrate like the breathing room your video needs to survive online. Give it enough data allowance to stay crisp, but not so much that it takes three days to upload.
By simply paying attention to these few core rules, your content will instantly look significantly more professional. You will stop guessing why your clips look weird, and you will start acting like a true director.
I used to be terrified of the export menu, randomly clicking boxes and hoping for the best. Taking the time to finally learn these simple rules completely removed my anxiety and allowed me to actually enjoy the editing process again.
Frequently Asked Questions About Motion Settings
Why does my smooth video look choppy when uploaded to Instagram?
Instagram aggressively compresses large video files to save space on their servers, which often ruins the playback speed. To fix this, export your video specifically at 1080p resolution with a moderate bitrate of around 10 to 15 Mbps. Also, make sure you go into your Instagram app settings and manually turn on "Upload at highest quality."
Should I just shoot everything in 4K resolution?
Shooting in 4K is fantastic because it gives you amazing detail and the ability to zoom in without losing quality. However, it takes up a massive amount of storage space and requires a very powerful computer to edit smoothly. If you only produce standard talking-head videos for phones, shooting in high-quality 1080p is still a perfectly professional choice.
What is the best file format to send to my clients for review?
When sending draft videos to a client, you want a file that is small enough to email or upload quickly, but clean enough to look professional. Exporting an MP4 file using the H.264 codec is the absolute best choice for this situation. It guarantees that the video will play perfectly on their phone, tablet, or office computer without needing special software.
How do I fix a drone shot that looks completely jittery?
Jittery drone footage usually happens because you recorded at a high speed but forgot to use a neutral density (ND) filter over the lens. Without an ND filter, the camera shutter speed goes way too high, removing all natural motion blur. In your editing software, you can try adding a digital "motion blur" or "optical flow" effect to gently smooth out those harsh, skipping frames.
Does changing the frame rate affect my video file size?
Yes, the more pictures your camera takes every second, the more raw data it has to store on the memory card. A video shot at 60 FPS will almost always have a larger file size than a video shot at 24 FPS. You have to balance your desired visual look with the amount of hard drive space you currently have available.
Disclaimer: The technical settings, software recommendations, and troubleshooting steps mentioned in this article are for informational and educational purposes only. Video editing software interfaces and platform upload requirements change frequently. Always back up your original video files and test your export settings on a small clip before rendering massive projects to prevent accidental data loss.