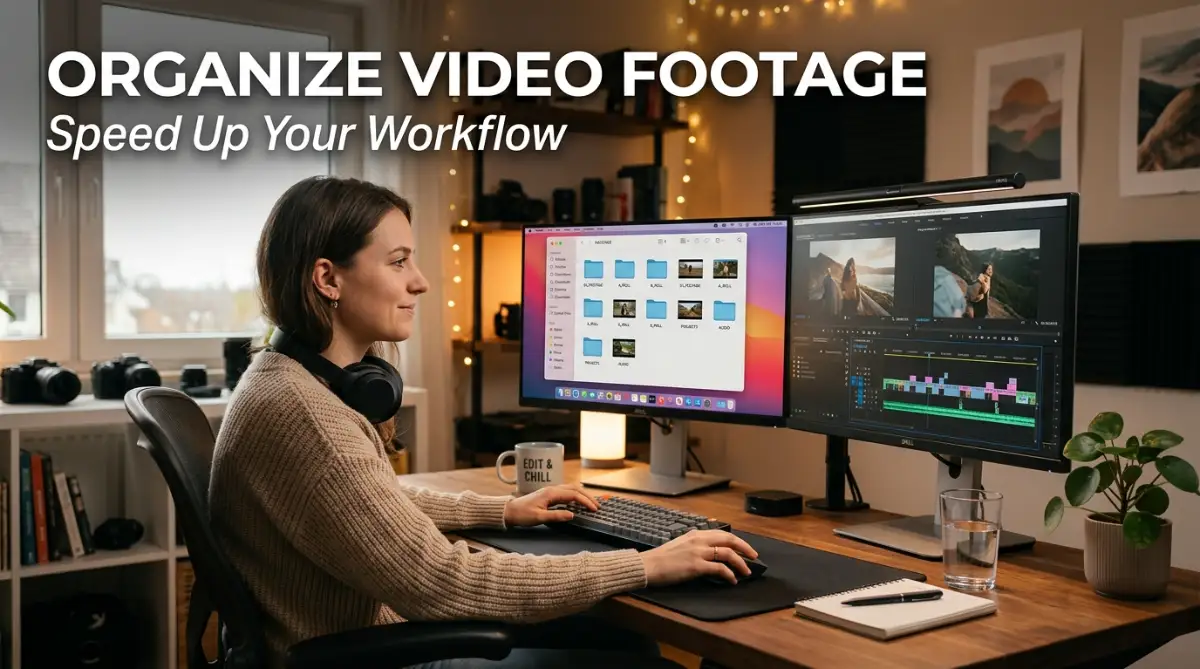
The Hidden Cost of Messy Hard Drives
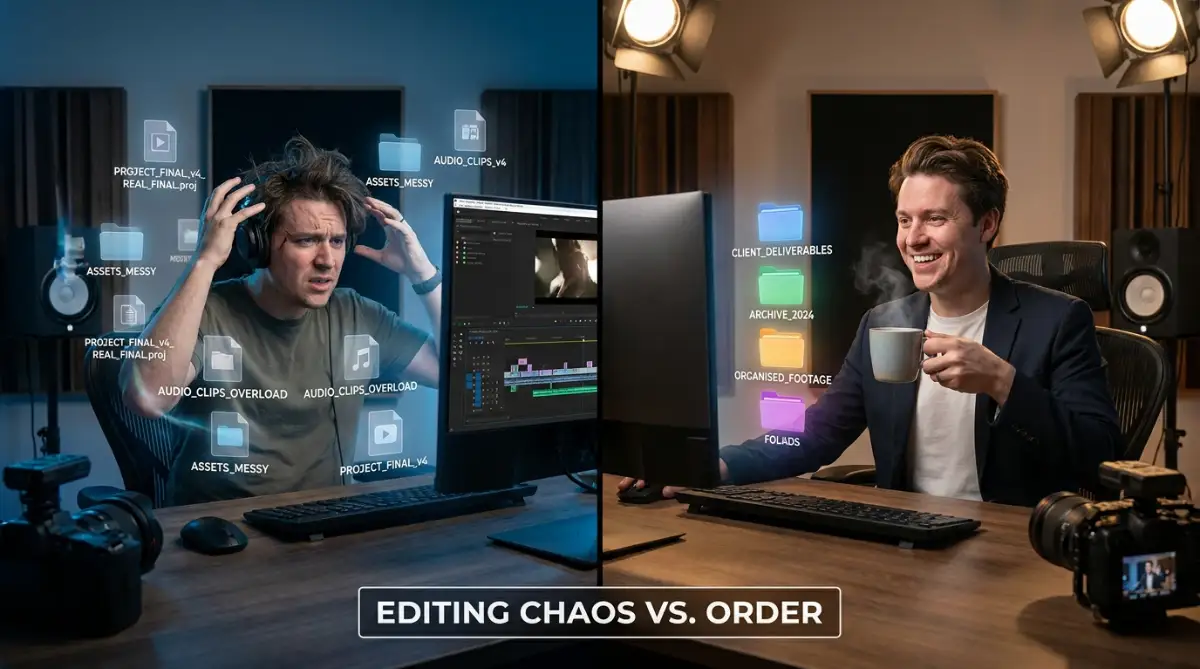
Picture this: you are staring at your screen at 2 AM, eyes burning, hunting for one tiny video clip buried inside a folder full of files named "IMG_9934". We have all been there, and honestly, it completely kills your creative energy. If your hard drive looks like a digital junk drawer, you are making your editing process way harder than it needs to be. Let me show you a simple way to fix this mess so you can actually enjoy making videos again.
My client was expecting the first draft the next morning, and panic was heavily setting in. I realized right then that my chaotic system was actively destroying my passion for video creation. It felt like I was constantly swimming against a strong current just to put a simple timeline together.
If you edit videos regularly, you probably know exactly what this feels like. We spend thousands of dollars on cameras, lenses, and powerful computers. Yet, we completely ignore the very foundation of the post-production process.
Dumping all your files into a single folder called "New Project" is a recipe for disaster. This simple mistake leads to massive frustration when you cannot find the perfect b-roll shot you remember filming. It completely breaks your creative flow.
Quick Takeaways for a Faster Edit:
- Never edit straight from your camera's SD card; always transfer files to a fast external SSD first.
- Build a strict 5-folder system (Footage, Audio, Assets, Projects, Exports) before you import a single clip.
- Rename your video files so you know exactly what is inside them without hitting play.
- Use proxy files if your computer struggles to play back heavy 4K footage smoothly.
Building a Foundation for Creative Freedom
A messy workspace directly translates to a messy mind. When your digital workspace is scattered, your brain has to work twice as hard to process basic information. This mental friction kills your creativity before you even make your first cut.
Think about a professional chef working in a high-end restaurant. They never start cooking by throwing all their ingredients into one giant bowl. They carefully prep, chop, and organize every single ingredient into small containers before turning on the stove.
This exact same logic applies to your video post-production. When you sort your media properly, you are essentially doing your "prep work" before the cooking begins. This preparation allows you to focus purely on the art of storytelling.
You no longer have to waste mental energy asking yourself where a specific file is hiding. The software knows exactly where everything lives, and your project runs incredibly smooth. Let us look at how you can build this exact system for yourself.
The Real Cost of a Messy Hard Drive
I tracked my own editing hours for a month to see how much time bad organization was actually stealing from me. The results blew my mind. Here is a quick breakdown of what happens when you skip your prep work:
The Art of Offloading Your Media Safely
The biggest mistake most beginners make happens the moment they plug in their memory card. They drag and drop files directly into their editing software without creating a safe home for them first. This is exactly how you end up with missing media errors later on.
Instead, you need a dedicated "Ingest" process. This simply means transferring your files from your camera to your permanent storage drive in a highly controlled way. Always use a dedicated SSD or a high-speed external drive for this process.
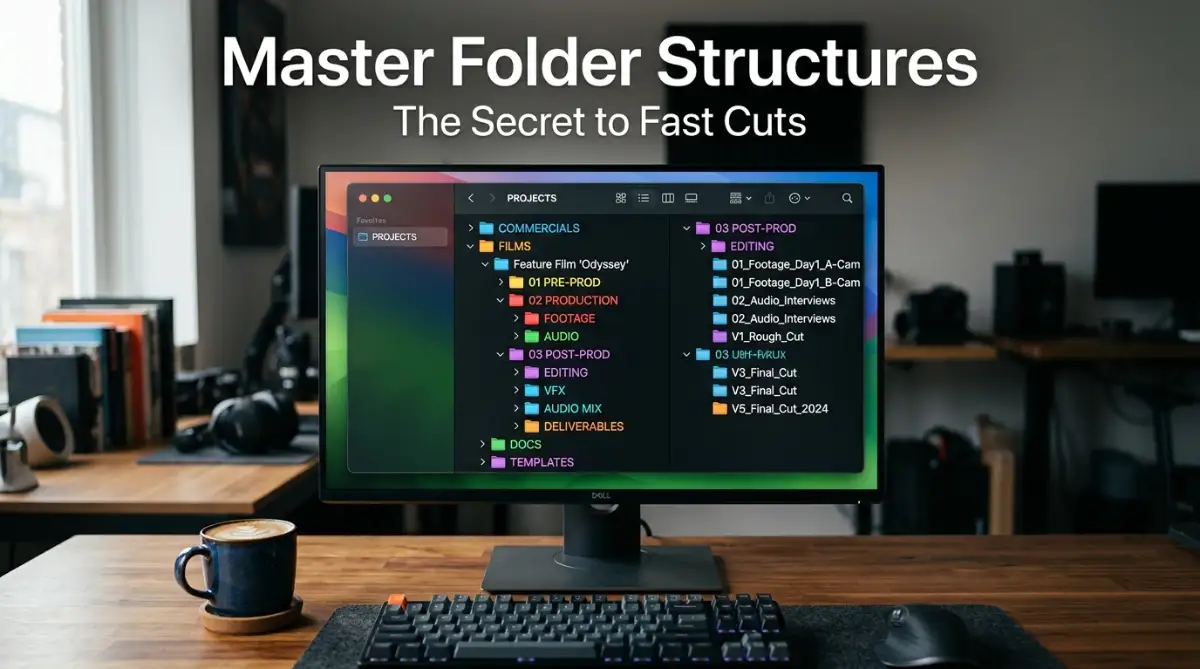
Create a master folder for your specific project before you even look at the video files. Inside that master folder, you need to establish a strict hierarchy. This hierarchy will act as the skeleton for your entire project.
The Perfect Folder Hierarchy for Any Project
You do not need an overly complicated system to stay organized. In fact, keeping your folder structure simple and predictable is the best way to maintain it long-term. You should be able to navigate your project with your eyes closed.
Start by creating a main folder with the project name and the date. Inside this main folder, you will create five standard sub-folders. These folders are: 01_Footage, 02_Audio, 03_Assets, 04_Projects, and 05_Exports.
Using numbers at the beginning of the folder names is a very intentional trick. The numbers force your computer to arrange the folders in the exact order you need them. This prevents your operating system from mixing things up alphabetically.
Let us break down what goes inside the "01_Footage" folder, because this is where the magic happens. If you used multiple cameras, create a separate folder for each one (Camera A, Camera B, Drone, Smartphone). This makes matching different frame rates and color profiles much easier later on.
My Personal Workflow Secret:
I always add frame rates directly into my folder names. For example, my drone folder is named "01_Drone_4K_60fps". Why? Because when I drag those clips onto my standard 24fps timeline, I instantly know I can slow them down for that buttery smooth cinematic look. I never have to right-click and check the file properties. It is a tiny trick, but it saves me so many extra clicks every single day.
I used to dump everything into one master folder, thinking I could just search by date later. My biggest realization was that grouping files by camera angle and audio separately saved me almost two hours per project. I never went back to my old messy habits after that.
Want to see exactly how professional editors set up these folders in real-time? Watch this quick breakdown below to master your digital workspace.
Speaking the Language of File Naming
Leaving your files named "C0045.MP4" is a terrible habit that will eventually cost you a lot of time. When you look at that file name, it tells you absolutely nothing about what is actually inside the video. You have to open it, watch it, and then close it, which wastes precious seconds.
Renaming your files sounds boring, but it is a massive time-saver. You want to create a standard naming convention that you use for every single project. A good file name should tell you the date, the project, and a brief description of the clip.
For example, a file named "Park_Interview_Wide_Take01" is immediately understandable. You know exactly what the shot is without ever hitting the play button.
To make this easier, you can use batch renaming software. Both Mac and Windows have built-in features that allow you to highlight hundreds of files and rename them all at once. You just add a specific sequence number at the end of your custom name.
The Magic of Smart Bins and Metadata
Once your files are safely named and stored on your hard drive, it is time to bring them into your editing software. But the organization does not stop at the hard drive level. You need to mirror that exact same structure inside your project panel.
Most modern editing programs allow you to import entire folder structures with a single click. When you do this, your digital workspace instantly looks identical to your hard drive. There is zero confusion about where things belong.
To take things a step further, you should start using tags, colors, and metadata. Most software allows you to right-click a clip and assign it a specific color label. You could make all your interview clips blue, and all your b-roll clips green.
When you drag these colored clips onto your timeline, you get a visual map of your story. You can easily see if you have too much b-roll clustered in one section, or if an interview segment is running too long.
Myth vs Reality: Storage Habits
There are a lot of misconceptions about how to store and manage heavy video files. Many new creators believe things that actually slow them down. Let us clear up some of these common myths.
Understanding these realities will fundamentally change how you approach your daily tasks. Protecting your files is just as important as organizing them.
Mastering the Proxy Workflow for Smooth Playback
Even with a perfectly organized folder system, large video files can ruin your editing experience. Modern cameras shoot massive files that require a lot of processing power to decode. If your computer is constantly freezing or dropping frames, your organization efforts will feel useless.
This is where the proxy workflow becomes your best friend. A proxy is simply a low-resolution, lightweight copy of your original high-quality video file. Your editing software links these lightweight files to your heavy originals behind the scenes.
When you edit using proxies, your software runs incredibly fast, even on an older laptop. You can easily scrub through your timeline, make rapid cuts, and preview heavy transitions without any lag.
When it is finally time to export your finished video, the software automatically switches back to the original high-quality files. Your final product looks absolutely stunning, but you avoided all the performance headaches during the process.
Managing Your Audio and Graphics
Video is only half the story; audio makes up the other fifty percent of your viewer's experience. A beautifully organized video folder means nothing if your sound effects and music are scattered everywhere. You need a dedicated system for your audio files.
Inside your main "02_Audio" folder, you should create separate spaces for Voiceovers, Music Tracks, and Sound Effects. Keeping these separated ensures you never accidentally delete a critical piece of dialogue while hunting for a swoosh sound.
The same rule applies to your graphics, logos, and fonts. Your "03_Assets" folder should house everything that is not a direct camera recording or an audio clip. If a client sends you a lower-third graphic, it goes straight into the Assets folder.
When you build these isolated containers, archiving your project becomes effortless. Once the video is approved and published, you simply grab the master project folder and move it to your long-term storage drive. Every single piece of media travels safely together.
The Psychological Shift of a Clean Timeline
Working like this actually changes how you feel about your daily grind. When you open your editing software and see every single file sitting exactly where it belongs, that heavy feeling in your chest just completely vanishes. You stop feeling like a stressed-out technician and start feeling like an actual artist.
You find yourself experimenting more with different cuts and unique transitions. Because you are not wasting time looking for lost files, you have extra time to perfect your color grading and audio mixing. Your final videos naturally become much higher quality.
Building this habit takes a little bit of discipline at first. It might feel slightly annoying to spend ten minutes creating folders and renaming files before you start cutting. But I promise you, those ten minutes will save you ten hours over the course of a difficult project.
Start implementing these simple storage habits today. Force yourself to create a proper master folder for your very next video. Once you experience the speed and peace of mind that comes with it, you will never edit the old way again.
Next-Level Strategies for Serious Creators
Once you have your basic folder structure locked in, it is time to upgrade your entire post-production process. The basic folders will keep your files safe, but advanced software tricks will actively speed up your cuts. I want to share a few pro-level secrets that completely changed my daily editing routine.
First, you need to stop relying entirely on your own memory to find good clips. Modern video editors like Premiere Pro and DaVinci Resolve have incredibly powerful automated sorting tools. You just need to know how to talk to the software correctly.
This is where the magic of "Smart Bins" or "Search Bins" comes into play. A Smart Bin is basically a dynamic folder that automatically gathers clips based on specific rules you set. You can tell your software to look for any clip tagged with the word "Drone" and group them together instantly.
Imagine you are editing a massive documentary with hundreds of hours of raw files. Instead of manually dragging every single aerial shot into a new folder, the software does it for you in one second. This level of automation feels like having a dedicated assistant working right beside you.
Harnessing the Power of Metadata
Metadata sounds like a boring, overly technical word, but it is actually your biggest advantage. Metadata is simply the hidden information attached to your video files, like the camera model, frame rate, and resolution. You can also add your own custom metadata, like keywords and scene descriptions.
Let us say you are shooting a short film and you have five different takes for one single scene. Instead of just naming them Take 1, 2, and 3, you can add a simple keyword like "Best Reaction" to the metadata of your favorite clip. Later on, when you search for "Best", that specific clip pops up instantly.
This habit helps you maintain a unified look across your entire project. Just like you would focus on maintaining character consistency in digital storytelling, your video project needs the same visual discipline. Tagging clips with specific lighting or color notes makes the final grading process incredibly smooth.
Developing a Rock-Solid Archiving Habit
A clean digital workspace is only helpful if you can maintain it for the long term. Many beginners start out highly organized, but their hard drives slowly turn back into a messy dump after three or four projects. You need a strict exit strategy for when a video is finally finished and uploaded.
Never leave finished projects sitting on your active working drive. Your main editing SSD should only hold the projects you are cutting right now. When a project is done, you must move the entire master folder to a cheaper, long-term external hard drive.
Before you archive the project, make sure to clean out the garbage. Delete your generated proxy files and software render cache, because these files take up massive amounts of space. You can always regenerate them later if you ever need to re-edit the video.
The Industry Standard Backup Strategy
Organizing your files perfectly means absolutely nothing if your only hard drive suddenly stops working. Hard drives are physical machines, and they will eventually break down when you least expect it. I once lost an entire week of client work because my external drive fell off my desk and shattered.
To protect your business and your mental health, you must implement the 3-2-1 backup strategy. This is a globally recognized standard used by massive tech companies and professional studios. Official data backup guidelines often cite this exact method as the best defense against data loss.
The rule is remarkably simple to follow. You need three total copies of your media, stored on two different types of media formats, with one copy stored entirely off-site.
For a solo creator, this usually means keeping your active files on an SSD, a second copy on a large desktop hard drive, and a third copy uploaded to a cloud server. If your house gets robbed or a flood destroys your office, your cloud backup will save your career. Setting this up takes a few hours, but the peace of mind is priceless.
Workflow Nightmares You Must Avoid
Even with a solid plan, it is very easy to fall into bad habits when deadlines get tight. When we feel rushed, we start taking shortcuts that end up causing massive problems later in the week. I want to highlight the most destructive mistakes I see beginners make every single day.
These pitfalls will not just slow down your computer; they will actively destroy your creative motivation. When you are constantly fighting against software errors and missing files, editing stops being fun. Let us explore these dangerous habits so you can completely remove them from your routine.
Quick Check: Are you making these simple mistakes right now?
- The Mistake: Pulling music straight from your "Downloads" folder into your timeline.
- The Fix: Drag that music file into your "02_Audio" master folder first, then put it in your editing timeline.
- The Mistake: Leaving your camera's memory card plugged in and editing directly from it.
- The Fix: Take five minutes to copy everything to your external SSD. Go grab a coffee while it transfers.
The "Desktop Dump" Disaster
This is arguably the most common and damaging mistake in the entire creative industry. You download a sound effect from the internet and drag it directly from your browser straight onto your editing timeline. The file is technically living in your computer's "Downloads" or "Desktop" folder, completely separate from your main project folder.
When you do this, your editing software creates a fragile, temporary link to that specific file path. If you later decide to clean up your messy desktop and delete those random audio clips, your editing project immediately breaks. You open your software the next day, and you are greeted by the terrifying red "Media Offline" warning screen.
Fixing missing media errors is highly stressful and completely ruins your momentum. It is very similar to the frustration of fixing blurry elements in your digital art right before a major presentation. Always take the extra five seconds to move downloaded assets directly into your dedicated project folder before importing them.
Editing Off Your Camera's SD Card
I still physically cringe when I see new videographers editing straight from their memory cards. An SD card is meant for capturing data, not for the heavy, randomized reading and writing that video editing requires. Your software needs to access multiple video files, audio tracks, and effects simultaneously.
Memory cards simply do not have the transfer speeds to handle this heavy workload. If you try to edit directly from the card, your playback will constantly stutter, freeze, and crash your program. Research regarding digital clutter and productivity shows that constant software interruptions severely damage your focus.
Even worse, editing off an SD card puts your original files at extreme risk of corruption. If the card gets too hot or your software crashes violently, you could lose the footage forever. Always transfer the files to a dedicated, high-speed solid-state drive before you make your first cut.
Ignoring Your Render Cache
Your editing software generates a lot of invisible files while you work. When you add a heavy color grade or a complex text animation, the software creates temporary preview files to make playback smooth. These are called render cache or scratch disk files.
If you never clear out these temporary files, they will silently eat up hundreds of gigabytes on your main computer drive. Eventually, your C: drive will turn completely red, and your entire computer will slow down to a crawl. You might not even realize why your premium laptop suddenly feels like a ten-year-old machine.
Make it a strict habit to clear your media cache every single month. Both Premiere Pro and DaVinci Resolve have simple buttons in their preference menus to delete these temporary files safely. Emptying your cache is like giving your computer a fresh breath of air, allowing it to perform at its maximum speed.
Keeping Bad Takes Out of Fear
Digital hoarders suffer terribly during the post-production process. When you shoot a video, you will inevitably capture shaky shots, out-of-focus clips, and terrible audio takes. Many creators are terrified of deleting anything, so they keep all this useless junk inside their project files.
Keeping bad clips actively harms your project because it clutters your visual workspace. When you have to scroll past fifty terrible clips just to find the one good take, you are wasting your own energy. It is exactly like trying to find a clean shirt in a closet filled entirely with garbage.
Be ruthless during your initial footage review. If a clip is completely unusable, delete it immediately or move it to a separate "Rejects" folder completely out of sight. Proper clip selection helps you avoid major visual issues down the line, similar to how early preparation prevents fixing lighting mistakes in your visuals.
If you are using Adobe software, studying their official proxy workflow documentation can teach you how to manage heavy files safely without hoarding originals on your main drive. Keep your workspace clean, and only surround yourself with the absolute best shots from your camera.
Your Blueprint for a Stress-Free Edit
Organizing your digital media is not just about keeping your computer clean. It is fundamentally about protecting your creative energy and respecting your own valuable time. When you remove the friction from your workspace, your natural storytelling abilities can finally shine through.
You no longer have to panic when a client asks for a quick revision a month later. Because your folders are perfectly structured and your files are clearly named, you can open any old project with total confidence. You will know exactly where every single graphic, sound effect, and video clip is hiding.
Start small if this all feels a little overwhelming today. You do not need to go back and reorganize years of old, messy hard drives right now. Just commit to using a structured folder system for the very next video you shoot.
I promise you, once you experience the smooth, rapid speed of a perfectly organized timeline, you will never look back. My editing speed doubled the very first week I implemented these simple folder rules. Take ten minutes today to set up your master folder template, and watch how much more you enjoy the editing process tomorrow. If you want to explore more creative techniques, feel free to browse through our platform for helpful resources.
My Personal Cheat-Sheet for Storage Drives
If you are wondering what type of drives you actually need to buy, here is exactly what I use for my own daily setup. Keep it simple and stick to this plan:
Common Questions About Media Management
How do I organize massive video files on a small laptop?
If your internal laptop storage is very small, you must use an external high-speed SSD for active video projects. Keep your software installed on the laptop, but route all your raw media and scratch disks to the external drive. This prevents your computer's main operating system from crashing due to a lack of space.
Should I delete my raw footage after the final video is exported?
You should generally avoid deleting raw footage if you have the storage space available. Clients often return months later asking for a different version of the video for social media. Instead of deleting, move the finished project to a cheap, high-capacity hard disk drive (HDD) for long-term cold storage.
What is the absolute best folder structure for beginners?
The most reliable structure uses numbered folders to maintain a strict visual order on your screen. Create a main project folder, then inside it, create: 01_Footage, 02_Audio, 03_Assets, 04_Projects, and 05_Exports. This simple five-folder system works perfectly for ninety percent of standard video projects.
Does renaming raw video files cause issues in the editing software?
Renaming files does not cause any problems as long as you rename them before you import them into your editing software. If you rename a file on your hard drive after it is already sitting on your timeline, the software will lose the connection. Always complete your file naming process during the initial offload phase.
Why does my editing software run so slowly even when my files are organized?
Organization fixes your mental workflow, but heavy file codecs (like 4K H.265 from modern cameras) heavily tax your computer's processor. To fix software lag, you need to generate proxy files within your editing program. Proxies create temporary, low-resolution versions of your clips that are incredibly easy for your computer to play back.
Disclaimer: The information provided in this article is for educational and informational purposes only. Video editing software interfaces and hardware recommendations change frequently. Always back up your important digital files securely before attempting to reorganize your hard drives or format new storage media.
THANK YOU