My Embarrassing Editing Nightmare That Ruined Everything
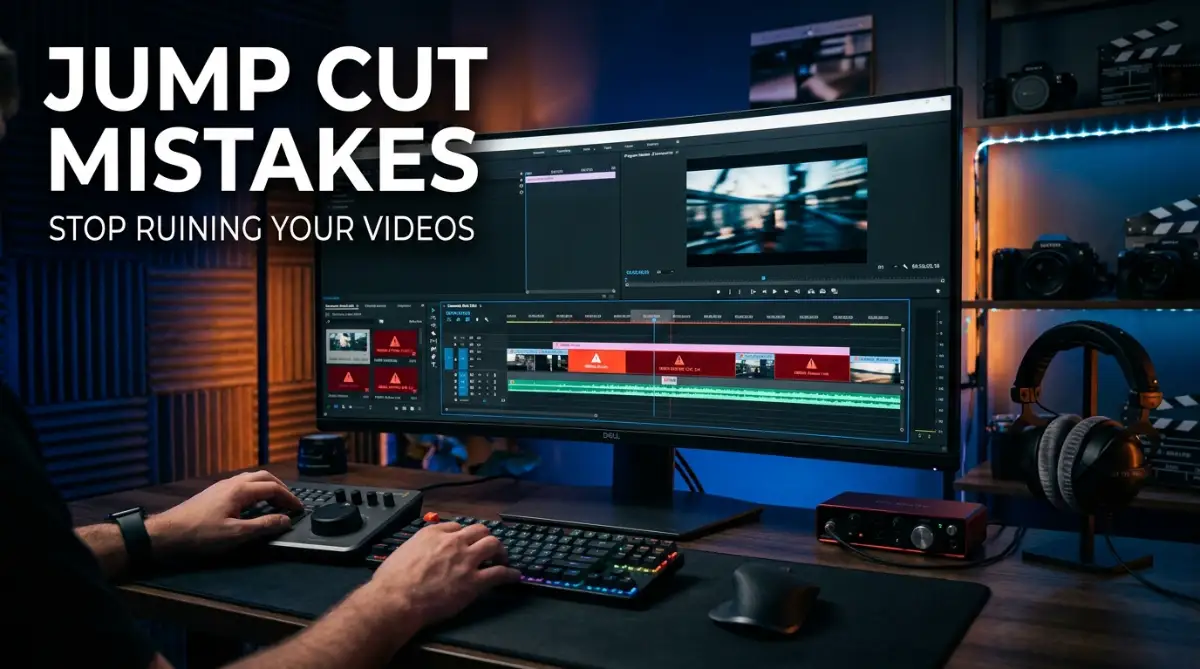
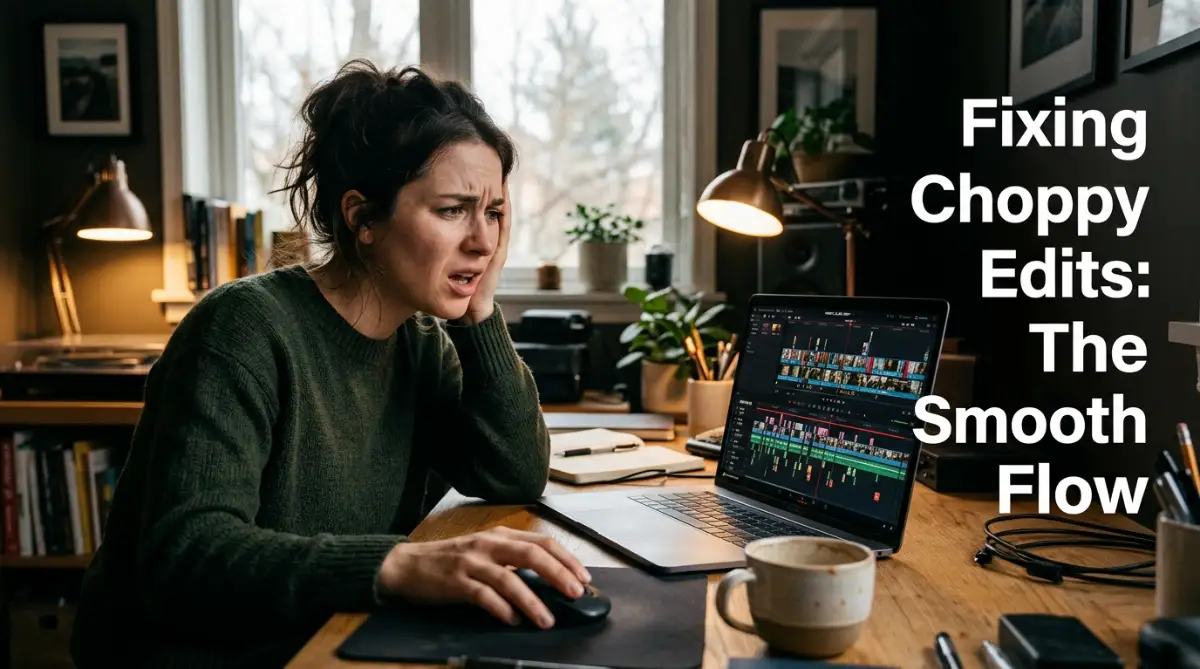
You just hit export, upload your new video, and press play. But instead of looking like a smooth, confident pro, you look like a glitching robot snapping your neck every three seconds. I have been there, and it is completely embarrassing to watch your own choppy footage. The good news is that you do not need a film degree or expensive plugins to fix this mess. You just need a few simple timeline tricks to fool the viewer's eye, so they never even notice your bad cuts.
What You Will Learn in This Guide:
- How zooming in just 15% totally hides your worst jump cuts.
- Why leaving normal breathing space keeps your viewers relaxed.
- The 2-frame audio trick that instantly stops annoying clicking noises.
- How to use B-roll to cover up multiple mistakes in a row without anyone noticing.
The Hidden Anxiety of Choppy Footage
This is a struggle that so many beginners face every single day. You just want to share your message with the world. You want to look confident, polished, and highly professional on camera.
But editing software makes it incredibly easy to just slice and dice your footage without thinking about the flow. We often believe that a faster video is a better video. This leads us to cut out all the natural breathing room.
Bad cuts do not just hurt your feelings. They actively hurt your channel's growth and your professional reputation. Viewers will not stick around if your video makes them feel dizzy or disoriented.
The internet is filled with high-quality content, and patience is very low. If you have aggressive, badly placed cuts, your audience will simply scroll away to someone else. You are losing subscribers, clients, and opportunities simply because of a technical misunderstanding.
How to Stop Ruining Your Videos and Edit Like a Pro
You do not need to go to film school to fix this problem. You just need to understand a few simple rules about how the human brain processes visual information. We can trick the viewer's eye into entirely ignoring the cuts we make.
Let me walk you through the most practical, science-backed methods to smooth out your editing timeline. You can apply these easy tricks to your projects right now.
Quick Cheat Sheet: Which Edit Should You Use?
The Power of Changing Your Visual Scale
One of the biggest reasons a jump cut looks bad is because the subject barely moves between the two clips. The brain detects a tiny, unnatural glitch in the matrix. The easiest way to hide this glitch is to change the scale of your video clip.
If you have a wide shot of yourself talking, and you need to cut out a mistake, do not just leave the next clip at the exact same size. Instead, zoom into the second clip by about 15 to 20 percent.
This suddenly changes the shot from a medium wide angle to a close-up. When the viewer watches this, their brain thinks you intentionally switched to a second camera. They completely ignore the jump cut because the dramatic change in size feels like a professional directing choice.
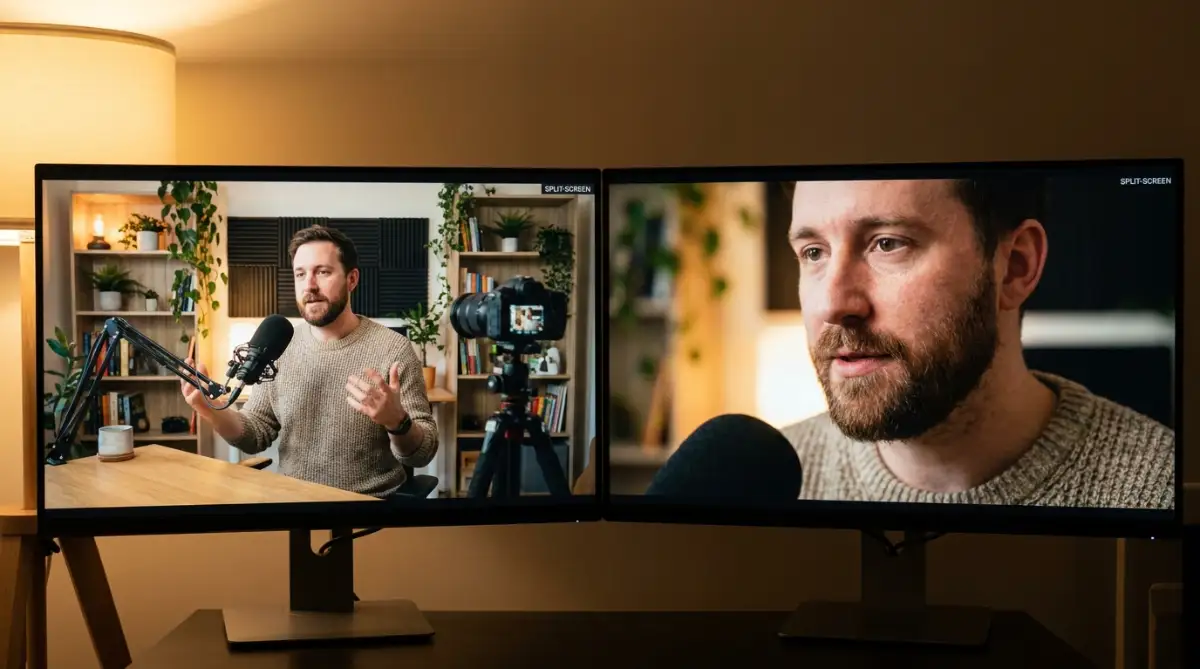
I used to be terrified of resizing my clips because I thought it would make my video look blurry and low-quality. But my biggest realization was that shooting in high resolution and zooming in just 15 percent completely masks a terrible mistake without losing any noticeable quality.
Why You Must Stop Cutting Mid-Breath
A major mistake that causes anxiety for your viewers is unnatural pacing. When we speak in real life, we naturally pause to take a breath. We stop to think about our next sentence.
When you edit out every single breath, you strip away your humanity. You sound like a frantic artificial intelligence trying to rush through a script. This unnatural pacing actually raises the viewer's heart rate and makes them feel stressed.
Leave a few milliseconds of breathing room before you start your next sentence. Let your natural pauses exist if they add emotional weight to what you are saying. You do not need to eliminate every single gap of silence to keep people engaged.
Sometimes, the silence is where the viewer actually absorbs the valuable information you just shared. Give your audience a moment to digest your words.
The Magic Hack for Seamless Audio
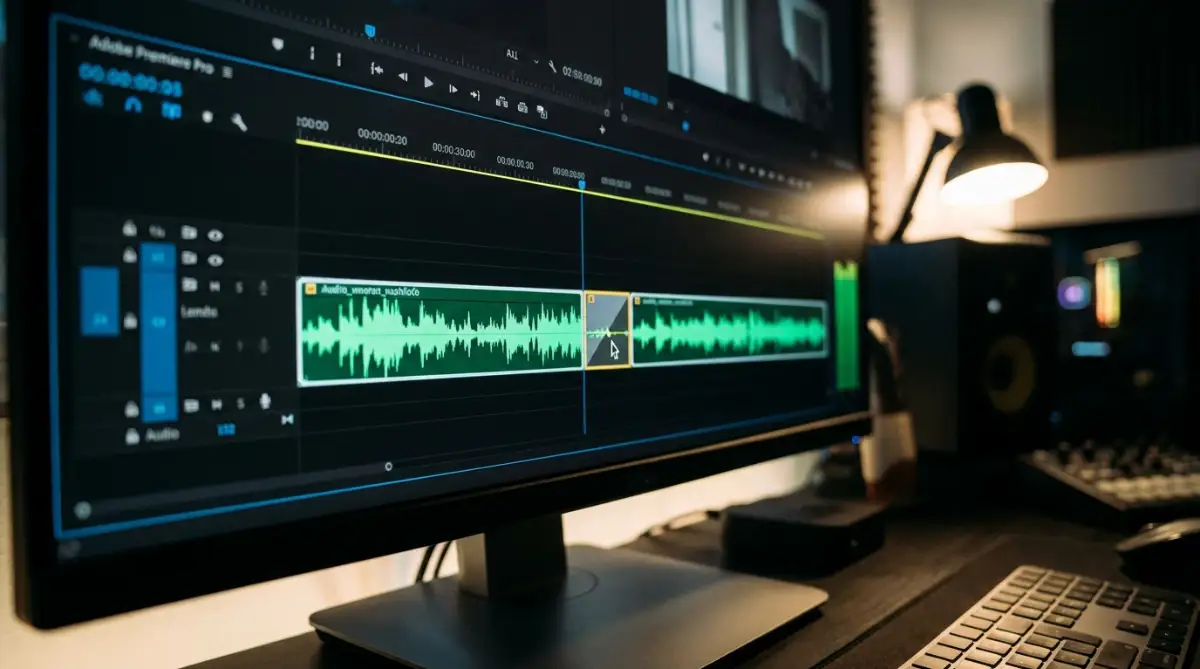
Have you ever noticed a sharp "pop" or "click" sound right where two clips meet? This happens because the audio waveform is suddenly cut off in the middle of a sound frequency. It is a dead giveaway that you made a sloppy edit.
Do you want to see exactly how professional editors mask their cuts and fix audio pops without anyone noticing? Watch this complete breakdown right now to save hours of frustration.
To fix this annoying clicking sound, you need to use audio crossfades. Every basic editing software has an effect usually called "Constant Power" or simply an audio transition.
Drop a very short audio crossfade over the cut. It should only be two or three frames long. This gently blends the sound of the first clip into the second clip, completely eliminating that harsh popping noise.
Hiding Your Tracks with Secondary Footage
If you have an incredibly messy section of a video where you messed up five times in a row, zooming in will not save you. If you bounce in and out five times in ten seconds, it will look ridiculous. This is where B-roll becomes your best friend.
B-roll is simply secondary footage that shows what you are talking about. If you are talking about making coffee, show a close-up clip of coffee pouring into a mug.
You can place this secondary footage directly over your messy jump cuts. The viewer will hear your continuous voice, but they will be looking at the beautiful coffee shot. They will have absolutely no idea that underneath that footage, you chopped your main video into six different pieces.
This method completely saves your project. It makes your video visually interesting while brilliantly hiding all of your worst mistakes. It is the oldest trick used by television news editors.
Rethinking the J-Cut and L-Cut
Sometimes, cutting the audio and the video at the exact same time feels very jarring. Our brains expect to hear a sound before we fully register the new visual. This is where you can use overlapping edits.
A J-cut is when you hear the audio of the next clip before you actually see the video of the next clip. The audio leads the way. It prepares the viewer's brain for the visual change that is about to happen.
An L-cut is the exact opposite. You continue hearing the audio from the first clip while the video has already switched to the next scene. This creates a beautifully smooth bridge between two different thoughts.
By simply unlinking your audio and video in your editing timeline, you can drag them so they do not cut perfectly together. This instantly elevates the quality of your work. It makes the conversation feel incredibly natural and flowing.
Fact Check: Do J-Cuts Actually Make a Difference?
Many beginners think unlinking audio and video takes too much time. I used to think the same way. But factually, human brains process sound slightly faster than visual changes. By feeding the audio to your viewer a second before the video changes, you are literally matching how their brain naturally works in real life. That is why J-cuts feel so invisible.
Real-Life Scenario: The Interview Edit
Imagine you are editing an interview. The guest answers a question, but they say "um" for a solid five seconds before making a brilliant point. You have to cut that five-second delay.
If you just slice it out, the guest's head will instantly jump from the left side of the frame to the right side. It looks totally unprofessional.
Instead, apply the rules we just discussed. First, add a J-cut so we hear their brilliant point start while we are still looking at the interviewer nodding. Then, cut back to the guest.
If you do not have a shot of the interviewer, use a related B-roll clip over the edit point. Finally, make sure to add that tiny audio crossfade so their voice does not pop. You just turned a messy, unusable answer into a television-quality moment.
Myth vs Reality in Video Editing
The Myth: You need to edit out every single mistake to look smart and professional on camera.
The Reality: Keeping small mistakes, natural breaths, and slight pauses makes you highly relatable. People connect with real human beings, not perfect robots.
The Myth: More cuts mean a more engaging video for the viewer.
The Reality: Unnecessary cuts break the viewer's focus. Smooth, intentional editing holds attention much longer than frantic, random slicing.
The Problem with the "Jump Cut Aesthetic"
Some popular creators intentionally use aggressive jump cuts as a comedic style. They chop sentences in half to create a fast, chaotic energy. Because they are famous, many beginners try to copy this exact style.
However, those big creators have mastered their pacing. They are doing it intentionally to match their high-energy brand. When a beginner tries to do it to hide a mistake, it just looks accidental and messy.
You have to learn the standard rules before you can successfully break them. Focus on making invisible cuts first. Once you know how to make your edits completely seamless, you can start experimenting with stylistic choices.
Structuring Your Timeline for Success
A great way to avoid editing headaches is to organize your timeline before you even start cutting. Go through your footage and strictly highlight the best takes. Do not even bother trying to fix a bad take if you have a better one later in the file.
When you bring your clips together, watch them back with your eyes closed. This might sound crazy, but it works perfectly. Just listen to the audio flow.
Does the conversation sound completely natural? Do the words flow together nicely? If the audio sounds choppy and weird, no amount of visual tricks will save it. Get the audio perfect first, and then fix the visual jumps using scale changes or B-roll.
Quick Comparison: Amateur vs Professional
The Psychological Impact on the Viewer
You have to put yourself in the shoes of the person watching your screen. When they sit down with a cup of coffee to watch your video, they want to be entertained or educated. They do not want to do hard mental work.
Every time a bad jump cut happens, their brain has to recalculate what it is looking at. It is like driving a car with someone who keeps slamming on the brakes. The ride is entirely unpleasant.
When you use smooth transitions, L-cuts, and proper scaling, you are giving your viewer a luxury ride. They can sit back, relax, and completely absorb your message.
They will watch your video all the way to the end without even realizing why they liked it so much. They will just know that your content felt good to watch. This is the ultimate secret to building a loyal audience and growing your platform.
Why Patience is Your Best Tool
You will not become a master editor overnight. The first time you try to use a J-cut, it might feel confusing. You might accidentally delete the wrong piece of audio.
That is completely normal. Take your time and practice on short, one-minute clips. Do not try to apply all these new techniques to a one-hour documentary on your first try.
Your editing software is just a tool. It is exactly like a hammer or a saw. A hammer cannot build a beautiful house on its own. You have to guide it with patience and a clear plan.
Stop rushing through your timeline. Treat every cut as an important decision. Ask yourself, "Does this cut serve the story, or am I just being lazy?"
When you start editing with pure intention, the quality of your videos will skyrocket. Your confidence will grow, and you will actually start looking forward to the editing process instead of dreading it.
Next-Level Editing Secrets for a Seamless Flow
Once you understand the basic rules of hiding your mistakes, it is time to upgrade your entire workflow. The best creators on the internet do not just fix bad cuts randomly. They build a long-term system that naturally prevents these problems before they even happen.
I remember the exact day my editing speed doubled. I stopped relying entirely on my computer mouse and finally learned my keyboard shortcuts. Learning how to use the "Ripple Delete" function completely changed my life.
Instead of cutting a clip, deleting the middle part, and slowly dragging the remaining clips together, a ripple delete does all three steps instantly. You just press one button, and the timeline snaps together perfectly. This eliminates the risk of accidentally leaving a tiny gap of black space between your videos.
Another massive secret is editing based on the human blink. Famous film editors realized long ago that people naturally blink when they process a new thought. If you cut your video exactly when your on-screen subject blinks, the viewer's brain barely registers the change.
According to various studies on visual processing by psychology experts, our brains temporarily shut off visual input during a blink. By syncing your cuts with natural human movement, you are essentially performing a magic trick. The edit becomes entirely invisible.
Mastering Your Digital Workspace
You also need to organize your media bins before you even drop a single video onto the timeline. Create specific folders for your main camera, your secondary angles, your background music, and your sound effects. When your files are highly organized, you will not panic when you need to quickly cover up a mistake.
Think of your video like a digital painting. Just as digital artists spend hours maintaining visual character consistency across a graphic novel, you must keep your video feeling consistent from start to finish. If your pacing suddenly changes halfway through the video, your audience will feel completely disconnected.
I highly recommend doing an "audio-only" pass of your project. Turn off your computer monitor or just look away from the screen entirely. Listen to the entire video from start to finish as if it were a podcast.
If you hear any weird breathing, sudden volume spikes, or unnatural pauses, fix the audio first. Once the audio flows like a normal human conversation, you can turn your screen back on. Then, simply apply B-roll or slight zooms to fix the visual jumps.
The Power of the Rough Cut
Do not try to make your project perfect on the very first try. Professional editors always start with a "rough cut." They quickly chop out the biggest mistakes and arrange the story without worrying about how smooth it looks.
Once the basic story makes sense, they go back for a second pass. This is when they apply their audio crossfades and overlapping J-cuts. Trying to perfect every single edit as you go will completely destroy your creative momentum.
You will spend an hour on one tiny section and feel exhausted before you even finish the introduction. Give yourself permission to make a messy rough cut first. You can polish the rough edges later.
The Heartbreaking Pitfalls That Destroy Audience Trust
Even with good intentions, many creators fall into terrible traps that actively push their viewers away. The most heartbreaking mistake I see constantly is the dreaded "Flash Frame." This happens when you do not snap your clips perfectly together.
You accidentally leave exactly one single frame of empty black space between two clips. When the video plays, the screen flashes black for a fraction of a second. It feels like a weird subliminal glitch that completely distracts the person watching.
If you leave flash frames in your project, it instantly tells the audience that you did not care enough to double-check your work. It destroys your professional authority. Always zoom all the way into your timeline before exporting to ensure your clips are touching perfectly.
The "Frankenstein" Audio Disaster
Another massive pitfall is ignoring background room noise. When you record a video, your microphone picks up the subtle hum of your refrigerator or your air conditioner. If you chop out a silent pause between your sentences, that background hum suddenly cuts out completely.
Then, when your next sentence starts, the hum suddenly turns back on. This creates a terrible "Frankenstein" audio effect. The background noise turning on and off constantly is incredibly irritating to listen to.
Pro Tip: The Secret YouTube Audio Standard
While you are fixing those annoying background pops, you also need to watch your master volume. Did you know platforms like YouTube automatically turn down your video if it is too loud? I always make sure my final audio mix hits right around -14 LUFS (Loudness Units relative to Full Scale). This is the exact sweet spot for web video. If you keep your volume steady at this level, your viewers will never have to reach for their volume dial, making the viewing experience incredibly smooth.
The Morph Cut Trap
Modern software often includes a tool called a "Morph Cut" or "Fluid Transition." The software tries to artificially blend your face from one clip to the next so you do not have to use a zoom. While this sounds like magic, it is actually a very dangerous trap.
If you moved your hands or shifted your head even slightly between the two clips, the software gets confused. The background behind you will start to warp and melt like a weird funhouse mirror. It looks just as unnatural as fixing weird deformed visual glitches in bad generative art.
Never rely completely on automated transitions to save a bad performance. If the morph cut makes your shoulders look like jelly, delete it immediately. It is always better to use a simple, clean cut than a glitchy artificial transition.
Sudden Shifts in Lighting and Color
Many people film their videos using natural sunlight from a window. If you record for two hours, the sun will slowly move, and the lighting in your room will change. When you edit the end of your recording right next to the beginning, the brightness will suddenly jump.
Going from a bright, sunny clip directly to a dark, shadowy clip is very harsh on the eyes. It completely pulls the viewer out of the story. You must pay attention to these visual shifts, similar to fixing harsh lighting mistakes in digital photography.
If you have a severe lighting change, use a piece of B-roll to bridge the gap. You can also use basic color correction tools to slightly darken the bright clip so it matches the rest of your footage. Consistency in your visual presentation builds massive trust with your viewers.
Breaking the Frame with Bad Resizing
We talked earlier about zooming in 15 percent to hide a jump cut. However, a huge mistake people make is zooming in so far that they cut off the top of their own head. They completely ruin the composition of the shot.
When you scale your footage, you must make sure your eyes stay in the upper third of the screen. If you zoom in and your chin gets chopped off, you will look absolutely ridiculous. Always double-check your framing to make sure you are understanding proper aspect ratios for a vertical or horizontal screen.
If your final exported video looks heavily pixelated because you zoomed in too much, you need to rethink your strategy. A low-quality, fuzzy video hurts retention just as much as a bad edit. If you are struggling with this, there are common technical reasons your final render looks blurry that you should investigate before publishing.
According to user behavior research from the Nielsen Norman Group on digital attention spans, viewers judge the credibility of your content within the first few seconds. If they see jarring visual mistakes or hear terrible audio popping, they assume your actual information is also poor quality. You simply cannot afford to make these basic errors in today's competitive online environment.
Overusing Flashy Transitions
Because editing tools offer hundreds of wild transitions, beginners love to use them everywhere. They use slide effects, star wipes, and heavy glitches between every single thought. This is an extremely fast way to annoy your audience.
Professional editors recognized by organizations like the American Cinema Editors rarely use anything other than a straight cut. A straight, clean cut is always the most professional choice. Save those flashy, aggressive transitions for special moments that actually require a massive energy shift.
If you treat every single edit like a fireworks show, the viewer will get a headache. Good editing should feel entirely invisible. Your audience should be so deeply engaged in your story that they do not even realize you made a cut.
Your Daily Action Plan for Better Storytelling
Becoming a great video editor is completely within your reach. You do not need to buy a three-thousand-dollar computer or pay for expensive masterclasses. You just need to change how you look at the timeline.
Start treating your cuts as storytelling tools rather than just digital band-aids. When you sit down for your next project, remind yourself to slow down. Focus heavily on making the audio sound completely natural before you worry about anything else.
Make sure you are utilizing B-roll to cover your worst mistakes. Practice overlapping your audio and video tracks to create those beautifully smooth bridges. Every small, intentional step you take will drastically improve the final quality of your work.
I used to cry out of sheer frustration when my videos looked choppy and amateurish. But my biggest breakthrough happened when I stopped rushing the process and finally started treating my audience's attention with true respect. I promise that if you apply these simple framing and audio techniques today, your next video will look incredibly professional.
Questions Creators Frequently Ask About Timeline Cuts
Can I just use a cross-dissolve to fix a bad jump?
Using a cross-dissolve on a talking-head video usually looks terrible. Because your head is in a slightly different position in both clips, the dissolve creates a weird, ghostly double-image for a few seconds. Save cross-dissolves for changing entirely different scenes or showing the passage of time.
How many cuts are considered too many for one video?
There is no exact mathematical number, as it entirely depends on the emotion of your story. If you are delivering a fast-paced tutorial, frequent cuts are highly acceptable to keep the energy up. However, if you are sharing a deeply emotional or serious story, you should use very long, uninterrupted takes.
Should I pay for expensive plugins to fix my timeline?
You definitely do not need to buy expensive third-party plugins when you are just starting. Every major software, even the free ones on your phone, has basic scaling and audio crossfade tools. Mastering the built-in basics will always give you better results than relying on paid automatic filters.
Why does my voice sound weird exactly where I made the cut?
This happens when you accidentally cut your clip in the exact middle of a breath or a word. The human brain instantly detects that a piece of the natural sound frequency is missing. Always zoom in closely on your audio waveform and make sure you only cut during the completely flat, silent gaps.
How do I fix a video if I completely forgot to record B-roll?
If you have absolutely no secondary footage, you can use high-quality stock footage or simple text graphics to cover the bad edits. You can also create simple, full-screen bullet points that highlight what you are saying. This brilliantly hides your messy timeline while actively helping the viewer take notes.
Do I need a powerful computer to make smooth cuts?
Not at all. The techniques we discussed, like J-cuts, crossfades, and slight zooming, require very little processing power. Even free mobile editing apps or basic software on a five-year-old laptop can handle these simple edits effortlessly. Good editing is about your timing and strategy, not the price of your processor.
Disclaimer: The information provided in this article is for educational and informational purposes only. Video editing software interfaces and features may change over time. Always ensure you have the proper backup files before making major destructive edits to your projects. We are not responsible for any lost data or software malfunction during your creative process.